Making my first surfboard

Client:
Personal Project
Date:
May 2020 – June 2020
Overview:
At this point I had been surfing for a couple years with Bath surf club while at university. I wasn’t any good (probably worse now) but I really enjoyed it. Up to then I had been surfing on the first surfboard that I had ever bought which was a 7’10” BIC Mini Mal. It was a great beginner board and complete indestructible. I’d been surfing it for about a year and was ready to move to a smaller board.
Also happening around this time was Covid-19. I’d moved out my London flat to be back home with my parents in North Wales to ride out the lockdowns. Like most of us, I suddenly had a lot of time to myself with not much to do. I decided that it would be fun to try and make my next surfboard rather than buying one.
After several weeks of YouTube tutorials, and lots of swearing & sweating away in my Dad’s workshop I managed to build my first surfboard. It’s a 7ft retro funboard with a tri fin setup and VERY chunky with a custom paint job. Very pleased with how it turned out. I’ve tried to put together a rough overview of the build process I went through to make it…
Step 1: Research and Learning
Before I could actually start building the board, I had to learn HOW to design and build a board. One of the best resources I found were a set of free guides created by the Greenlight Surf Supply Company. These guides covered both the design process and the actual method and techniques needed for constructing a board. I’ll link to these guides here. I couldn’t have done this project without these guides, amazing that Greenlight Surf Supply has made them free to access.
Alongside this, I also watched a lot of YouTube videos on the build process. This was super important especially for learning specific building techniques. I found it much easier to get my head round the process seeing it done visually alongside reading about it in the Greenlight guides. One particular channel I should highlight is Andrew Workshop. He’s got a series of video guides on building different surfboards from scratch. Really great guides that are beginner friendly but detailed enough that you can actually follow along and do it yourself.
I also found that the Fiberglass Florida channel had loads great videos all about the fiberglassing process which I also referred to regularly.
Step 2: Surfboard Design
Once I felt I had a grasp on the design and build process, I started the design of my board. I wanted to design a board that would be best suited to the conditions that I would be surfing in. At this point my surfing ability was probably somewhere between beginner and intermediate and I wasn’t a huge fan of big waves. I also wasn’t able to go surfing too often. I wanted a board that would be really fun to use on a smaller day but still allowed me to progress.
Based off these requirements and using the information from the Greenlight Surfboard Design Guide I settled on a spec for my board. I went for a 7ft hybrid board with lots of volume, pretty wide and a with relatively shallow rocker. The 7ft length was shorter than my current board making turning easier allowing me to progress while the shallow rocker and high volume would make it easy to paddle and catch smaller waves.
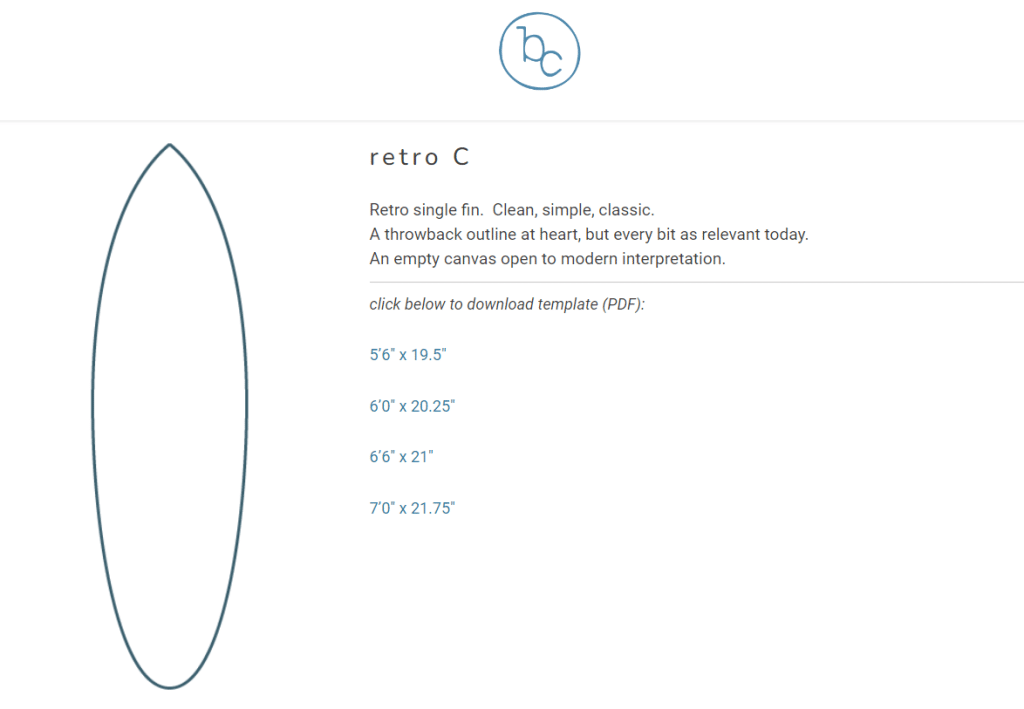
With these specs decided on, I needed to design the outline of the board. While it is possible to design a completely custom outline, I decided to use a pre-existing template to make the process easier. Blended Curves is great online resource with a large selection of downloadable surfboard profile templates that’s complete free to use. In the end I selected the 7ft version of the Retro C profile, I felt like it had a good width that would add stability while still having a stylish look.
One of the appeals of making my own board was that I could make it look completely unique. I wanted it to have a very striking paint job that felt retro. I spent some time playing around with different visual designs.
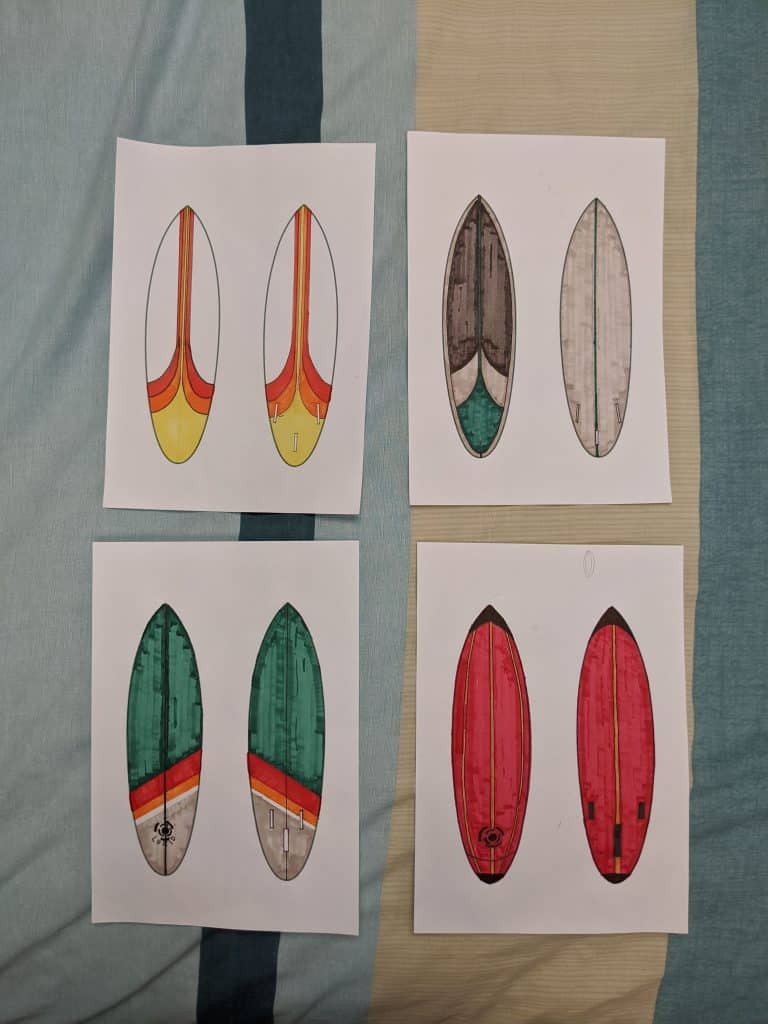
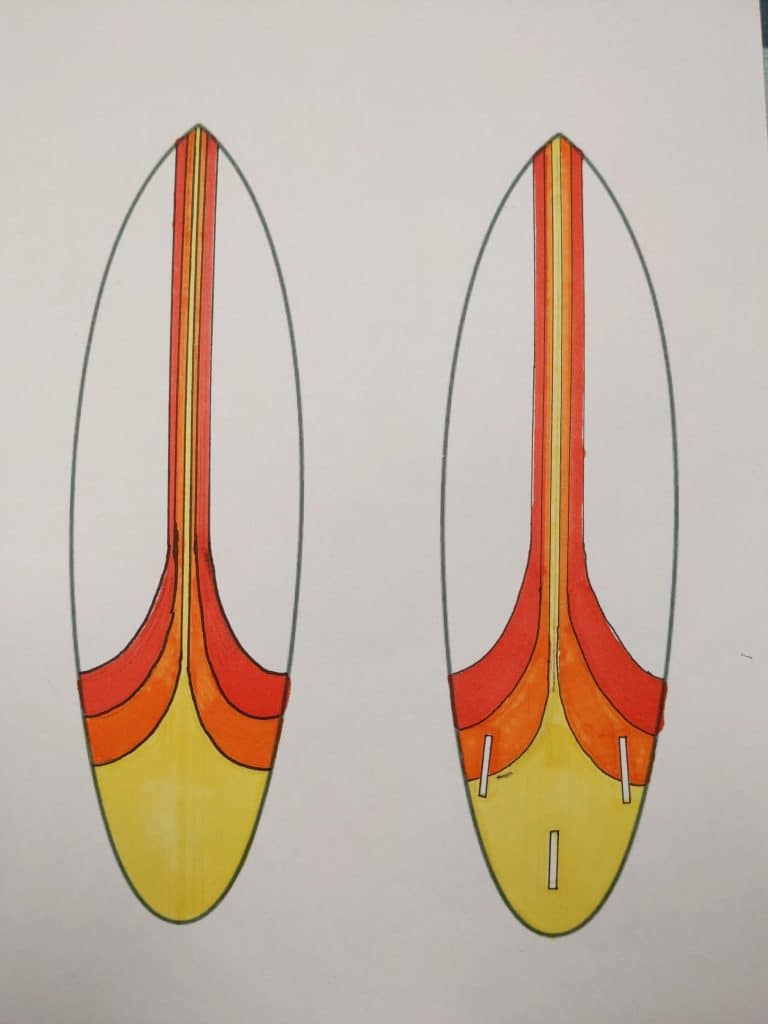
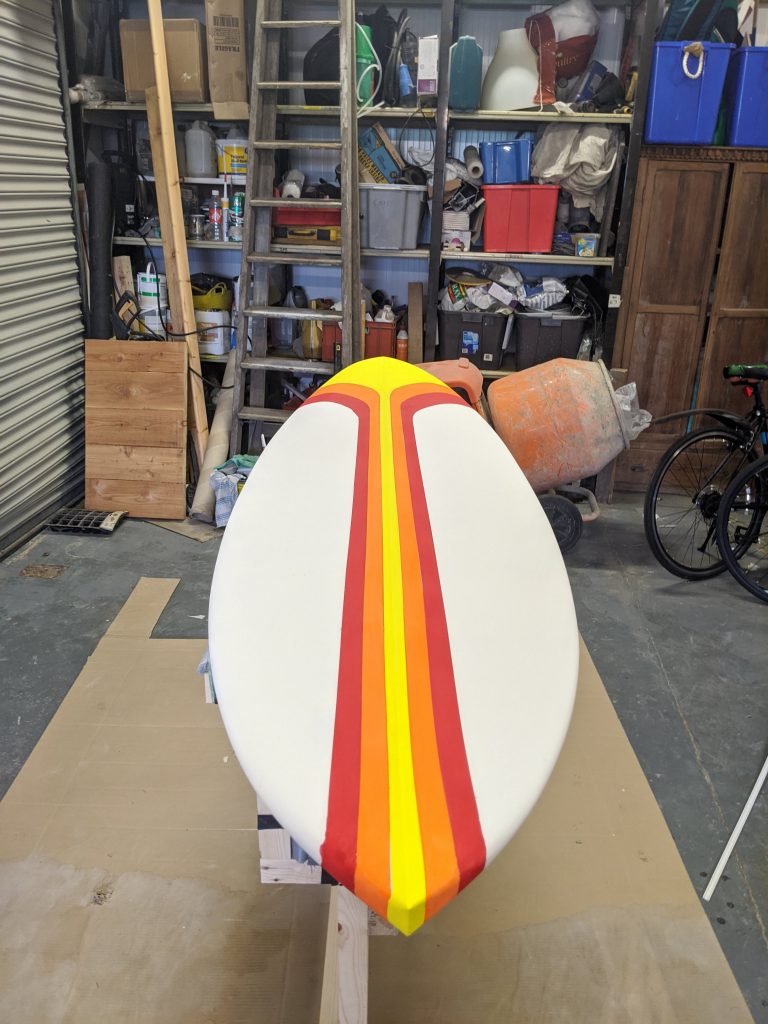
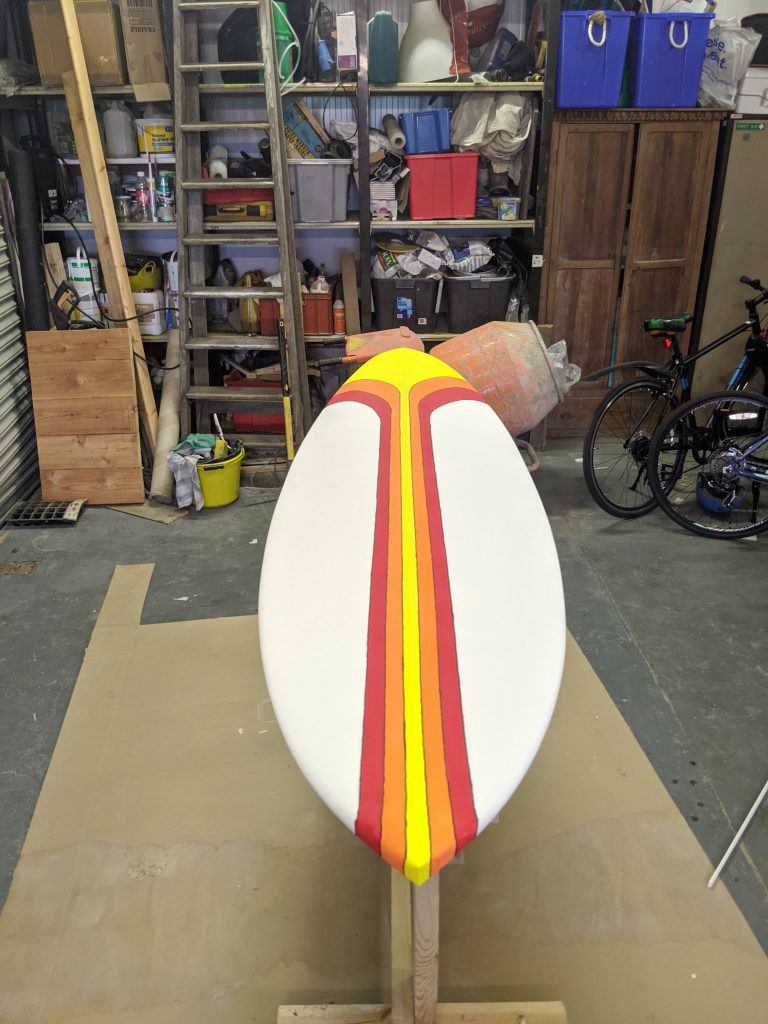
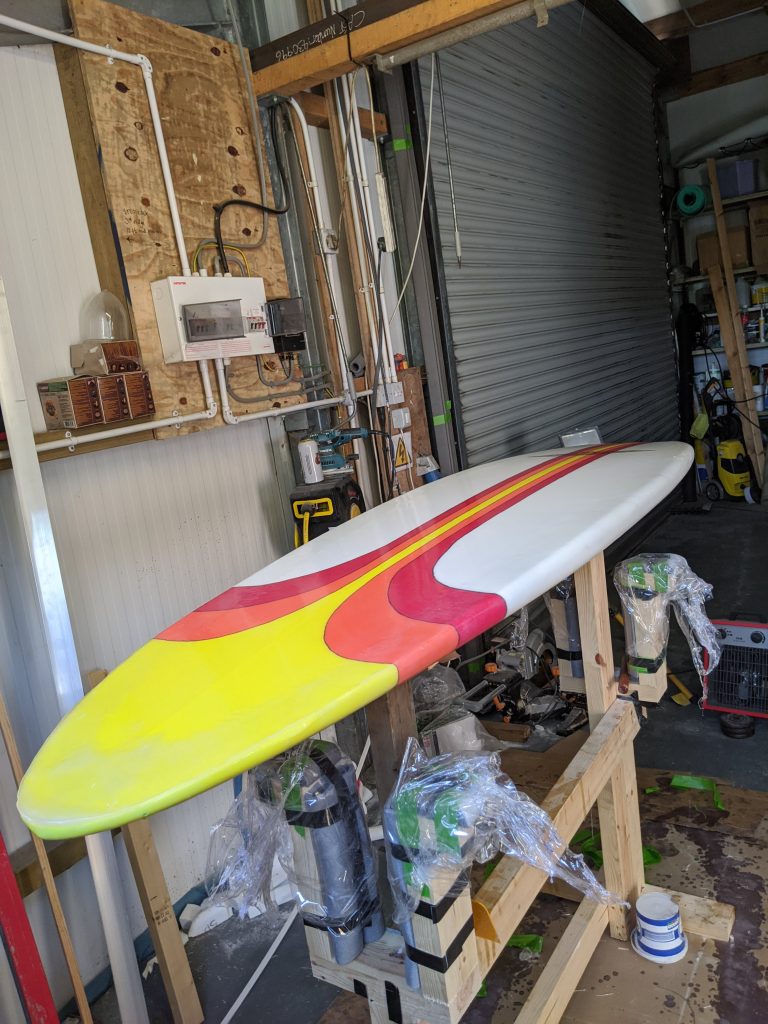
In the end I settled with the design with the white background and the layered yellow, orange and red converging stripe up the middle.
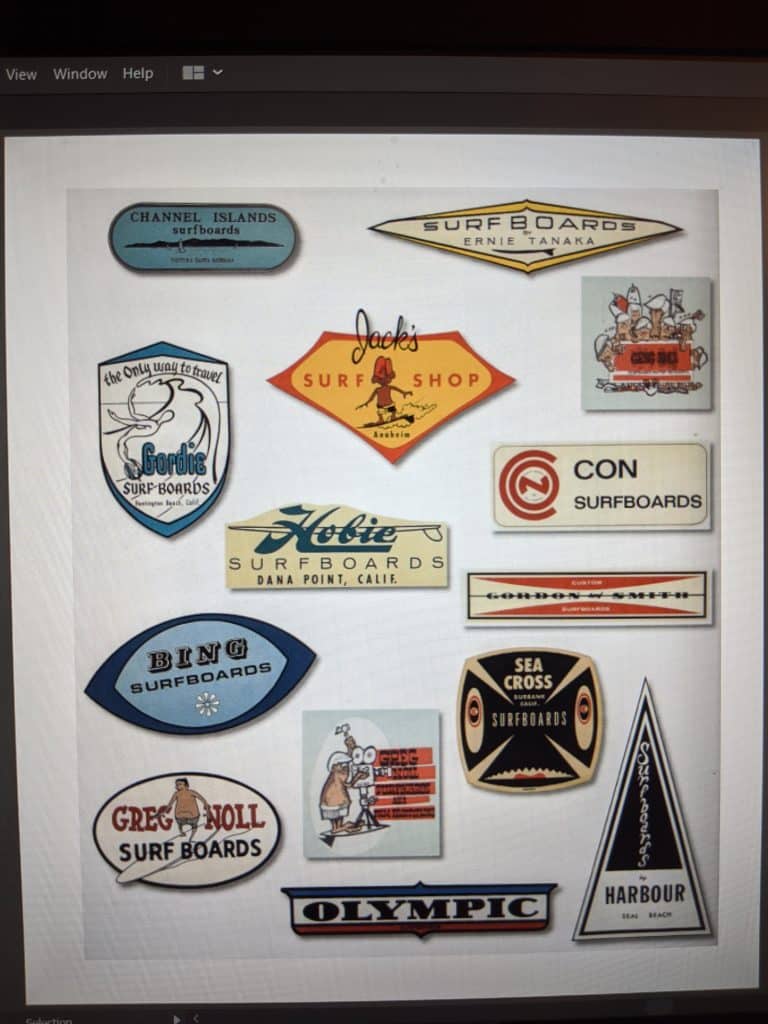
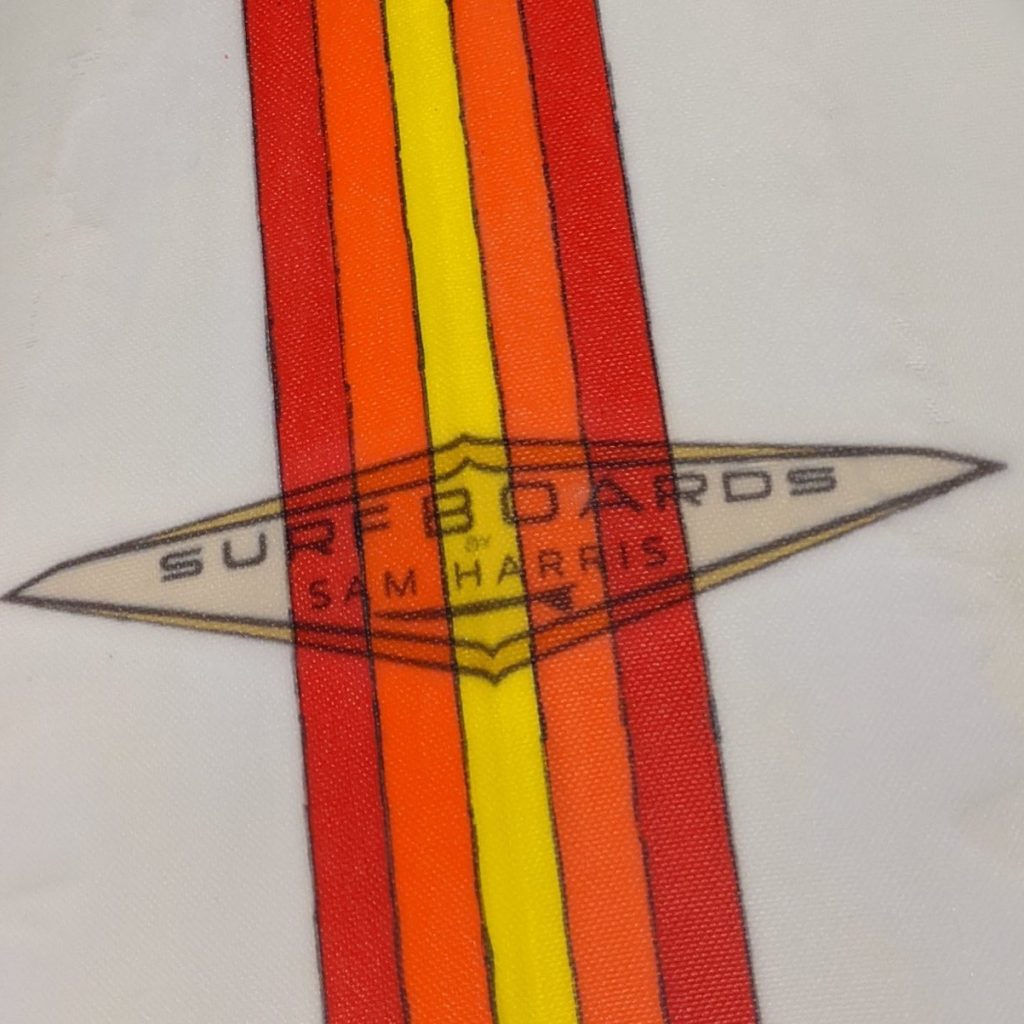
Alongside a custom paintjob, I also thought it would be fun to design my own logo to go on the board. I wanted the style of the logo to match the retro look of the board. I collected a load of old school surfboard brands that I liked the look of. I had initially wanted to design a completely custom logo but didn’t actually get around to my logo until quite late in the build process. I was running out of time but really wanted to have a logo on there so I appropriated my favorite logo from ones I collected and changed the name. Surfboards by Ernie Tanaka becomes Surfboards by Sam Harris. Cheers Ernie x.
Step 3: Equipment and Materials
With the design set, the final stage of the preparation was getting the tools and materials together ready to start the build. Luckily for me, my Dad takes pride in owning every tool that exists so most of the equipment that I needed he already had which was a massive help. Here’s a list of all the kit that I ended up using…
Power tools:
- Power planer – shaping the board from the foam blank
- Drill with hole cutter bits – drilling out the fin plugs holes
- Belt sander – sanding the resin coats
- Orbital sander – sanding and polishing the resin coats
Hand tools:
- Various grit sandpaper – sanding and polishing the resin coats
- Foam grater – shaping the board from the foam blank
- Hand saw – cutting out the outline of the board
- Stringer planer – specific tool for shaping the center wooden stringer
- Fabric scissors – cutting the fiberglass sheets
- Various brushes and mixing pots – preparing, mixing and applying the resin and paint
- Scraper – spreading and incorporate the resin into the fiberglass sheets
- Rulers and pencil – measuring and marking out shaping guides
- Portable Light – checking the contours and shape of the board during shaping
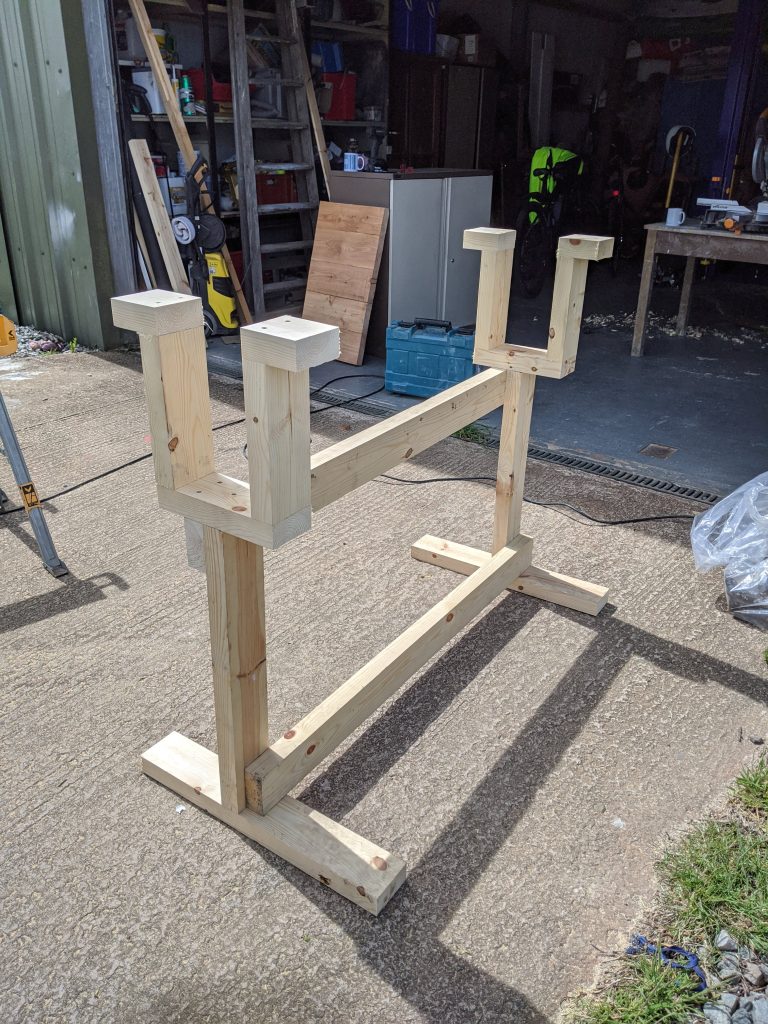
The only major piece of equipment that I didn’t have access to was a surfboard shaping rack. This is what the surfboard would be placed on during the build process and allowed it to held in all the different positions needed. Again, Green Light Surf Supply comes through and has free access plans on how to build a shaping rack using a few lengths of 2×4 timber and some foam offcuts.
After a trip to the hardware store and an afternoon in the garage I had myself a basic shaping rack.
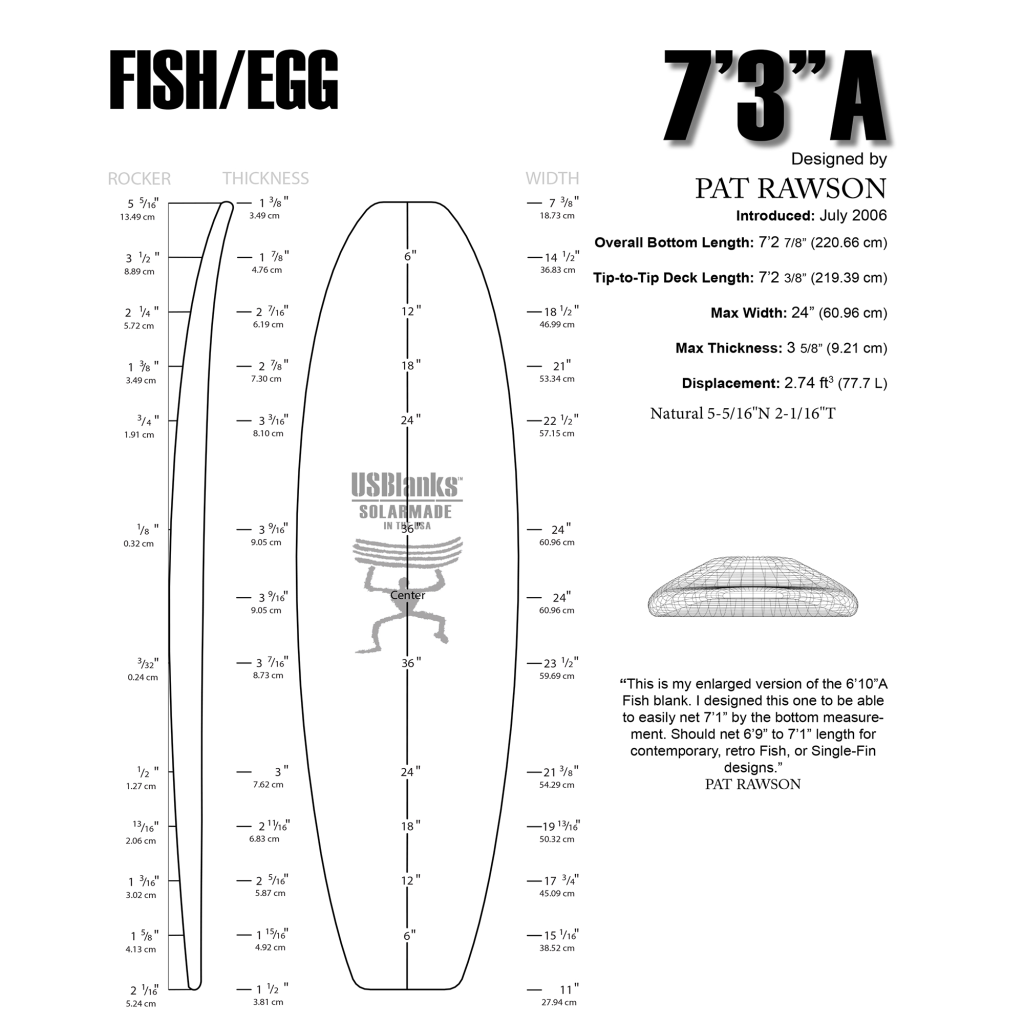
In terms of materials, I bought the majority from surfboard material supplier Seabase. A surfboard starts life as a foam blank. This is a big block of foam with a wooden stringer core that has been pre-shaped to a rough surfboard shape. When ordering a blank it is important to choose one that is bigger than your desired surfboard design in all dimensions but also not so much bigger than you have an excess of material to remove adding time and waste.
I selected the “Polyurethane US Blanks 7’3″A Fish Blank 4mm Ply” from Seabase as it was the blank closest in size to my desired design while still being larger in all dimensions. Alongside the foam blank, I also ordered all of the fiberglass sheets, epoxy resin and sundries.
With my tools gathered and materials ordered, it was time to start building the board!
Step 4: Shaping the board
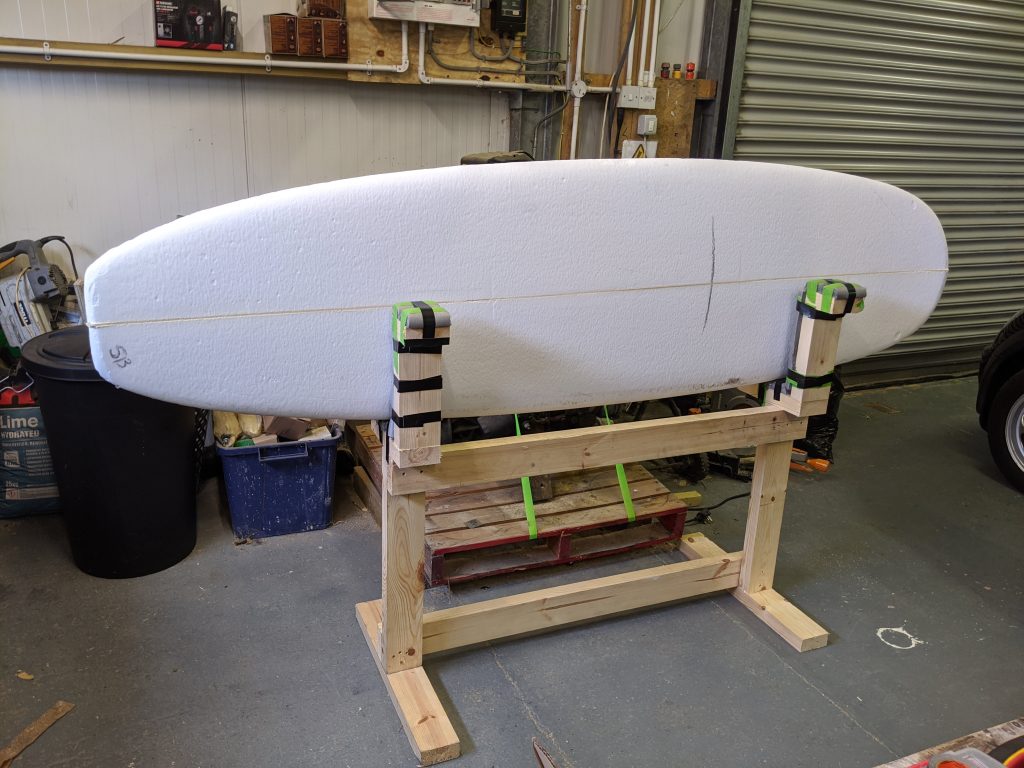
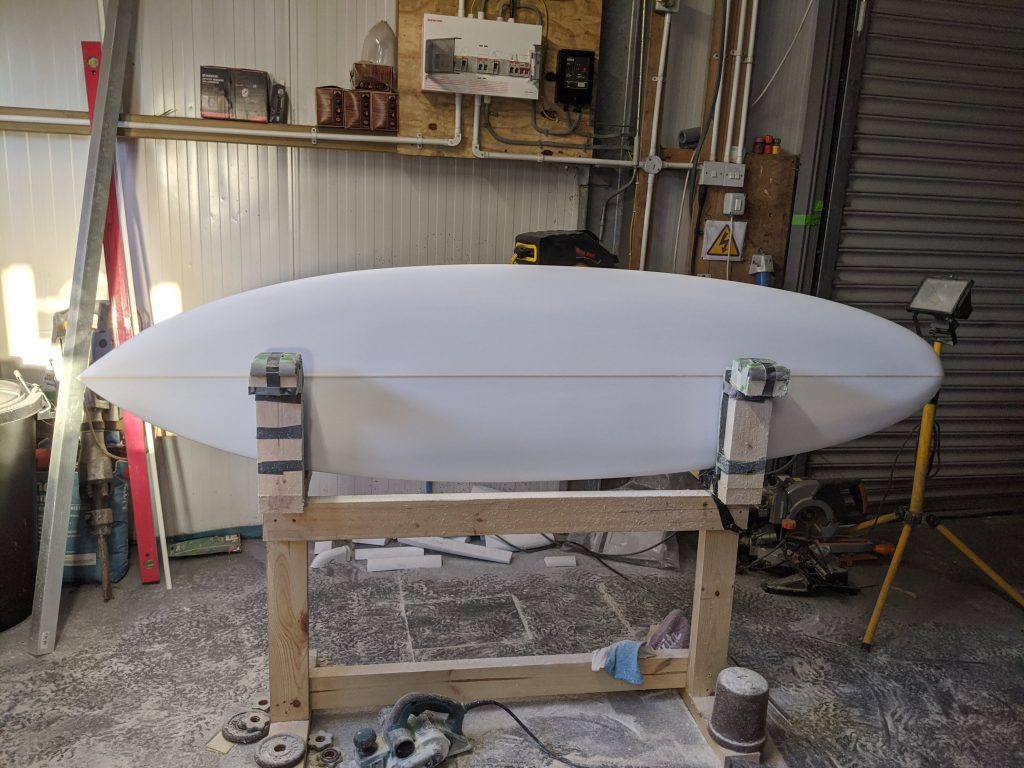
With all the preparation complete, it was time to start building the board. The first stage was shaping the foam blank to the desired design.
4.1. Cutting outline from foam blank
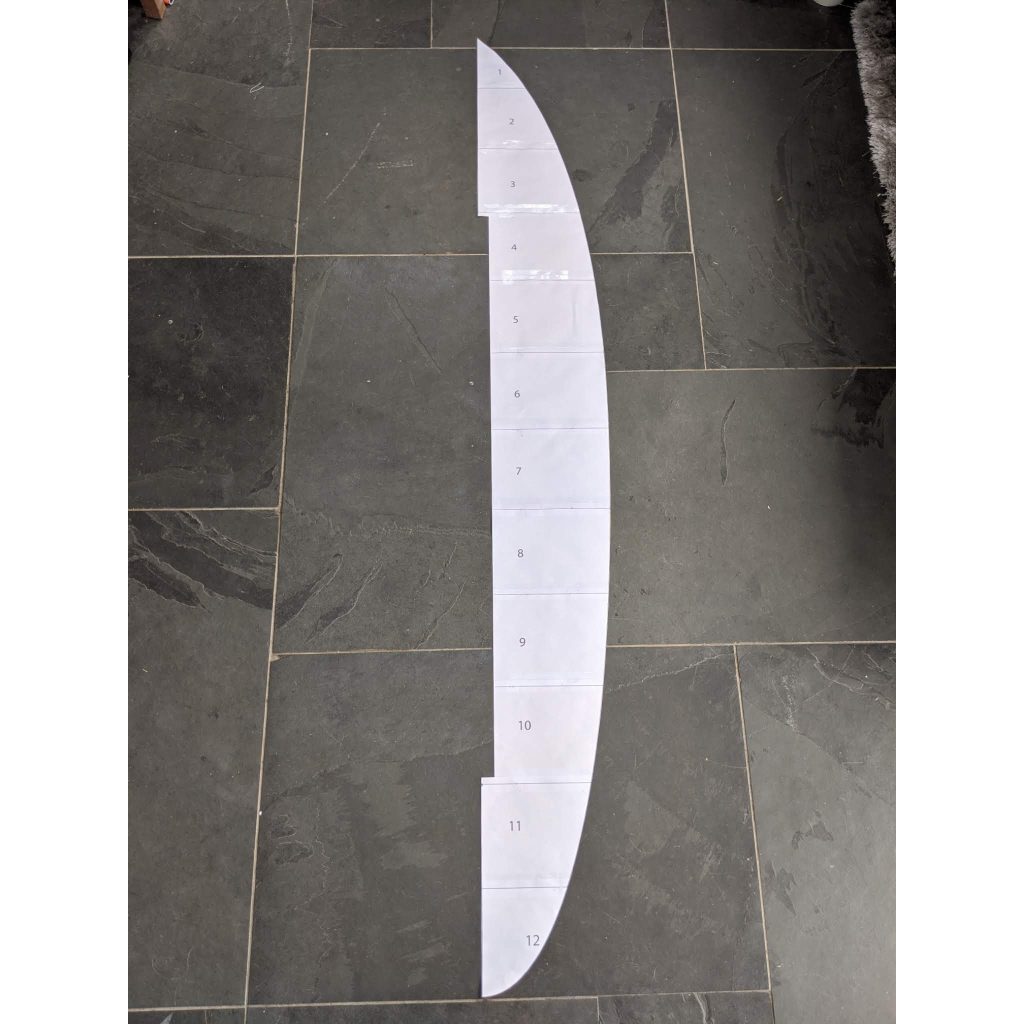
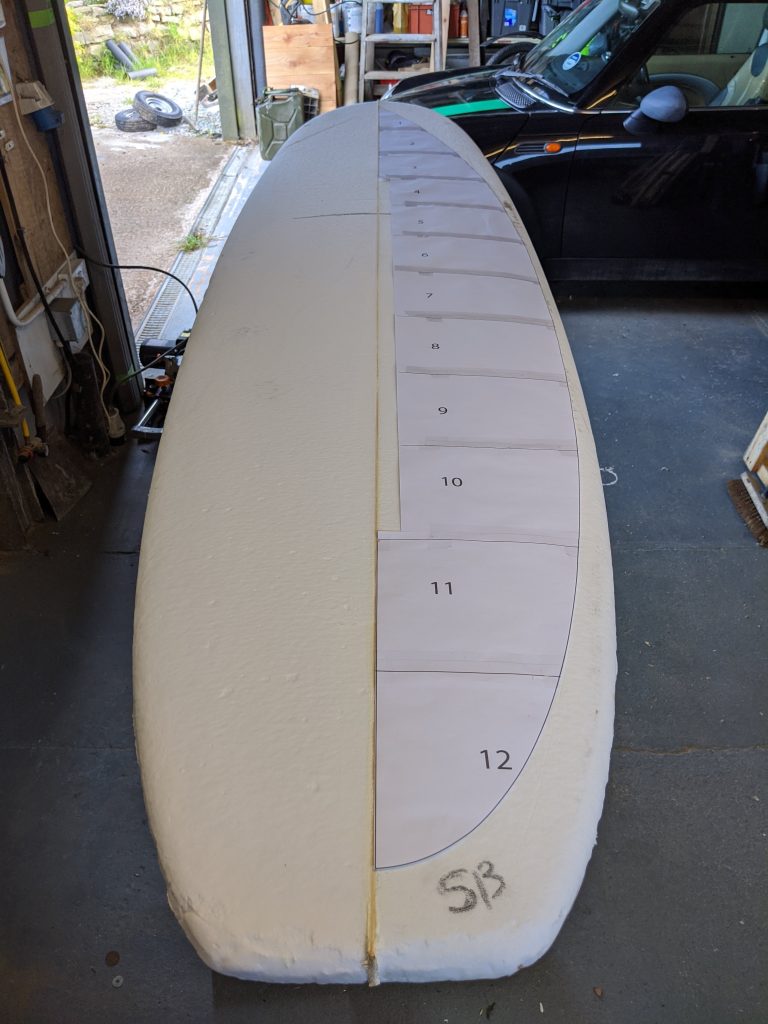
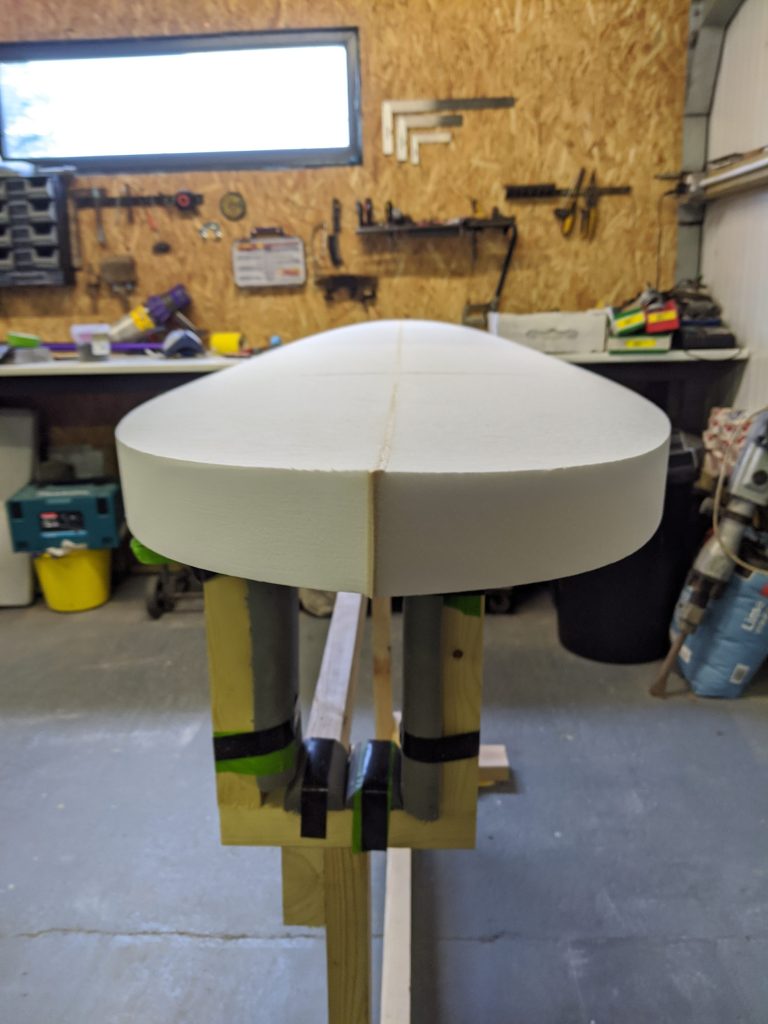
The first step of the shaping process was to cut the outline of the board from the foam blank. I had already selected the Retro C outline from Blended Curves. Their templates can be printed on multiple A4 sheets and then attached together and cut out to give a 1:1 scale half stencil to trace around. I traced the outline onto the blank and cut it out with a hand saw. I cut slightly larger than the outline with the hand saw and then hand sanded the edges to the final outline ensuring the sides were square relative to the top.

4.2. Shaping the rocker and deck
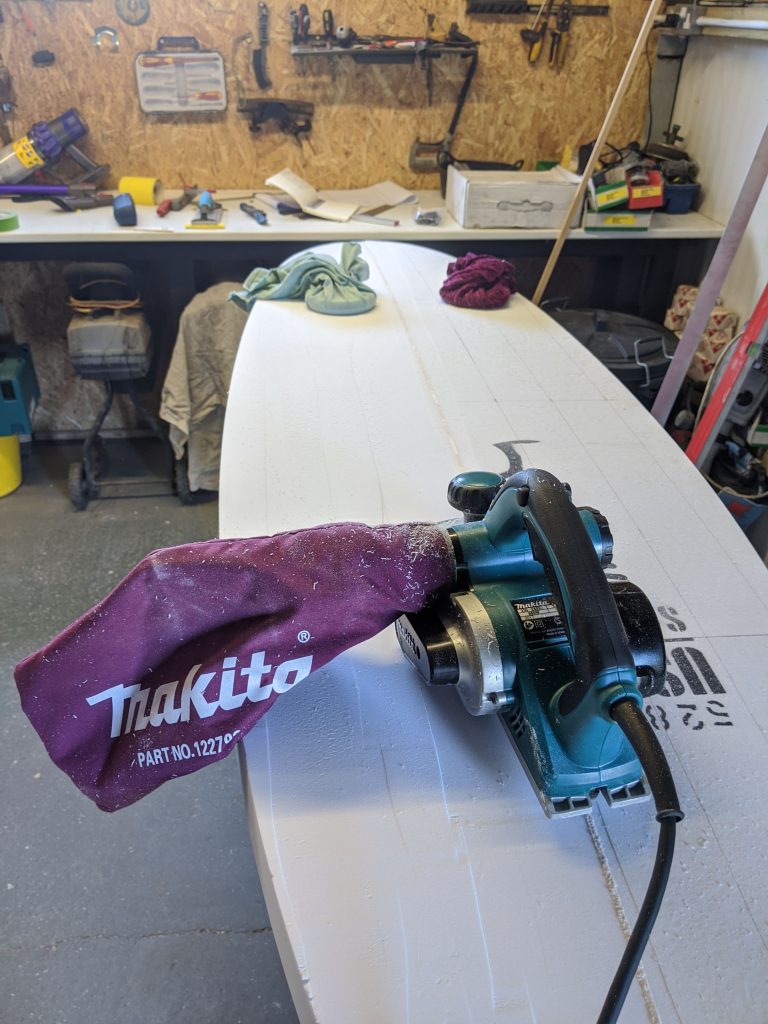
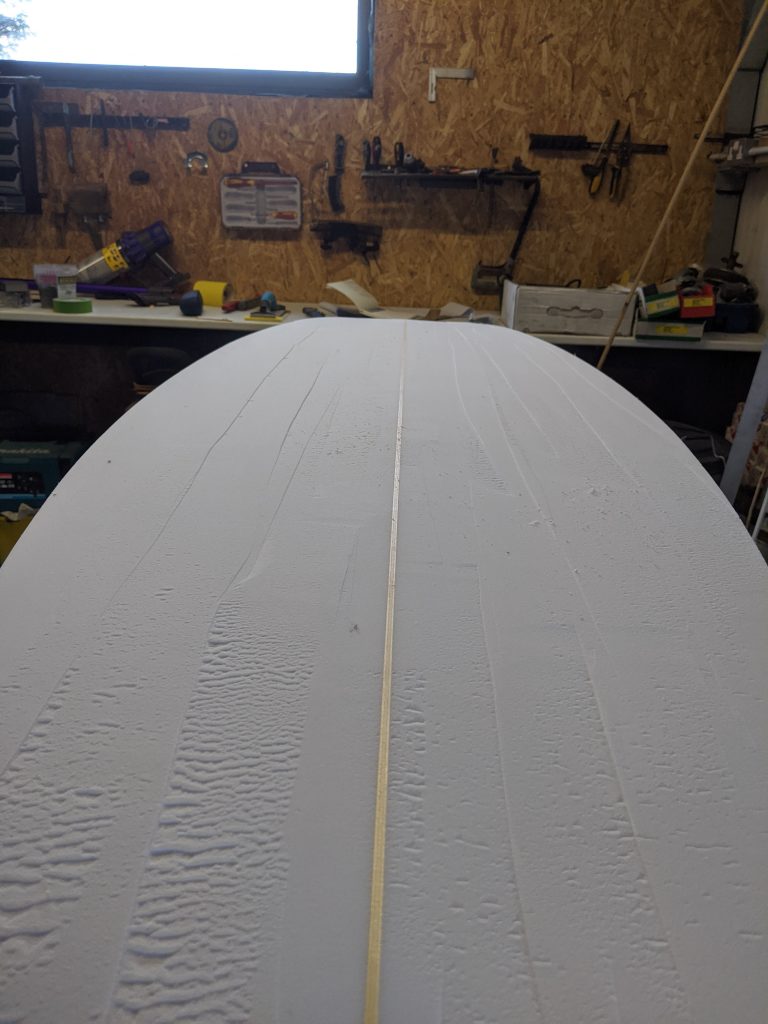
Next was shaping the rocker and deck of the board. This was done using the power planer to get the rough shape and then finished off with hand sanding. As I mentioned earlier I was going for quite a shallow rocker to make it easier to paddle and better suited for smaller waves. This shaping was mostly done by eye trying to keep everything even and symmetrical. Lots of standing back and squinting.
4.3. Rail bands and final rails
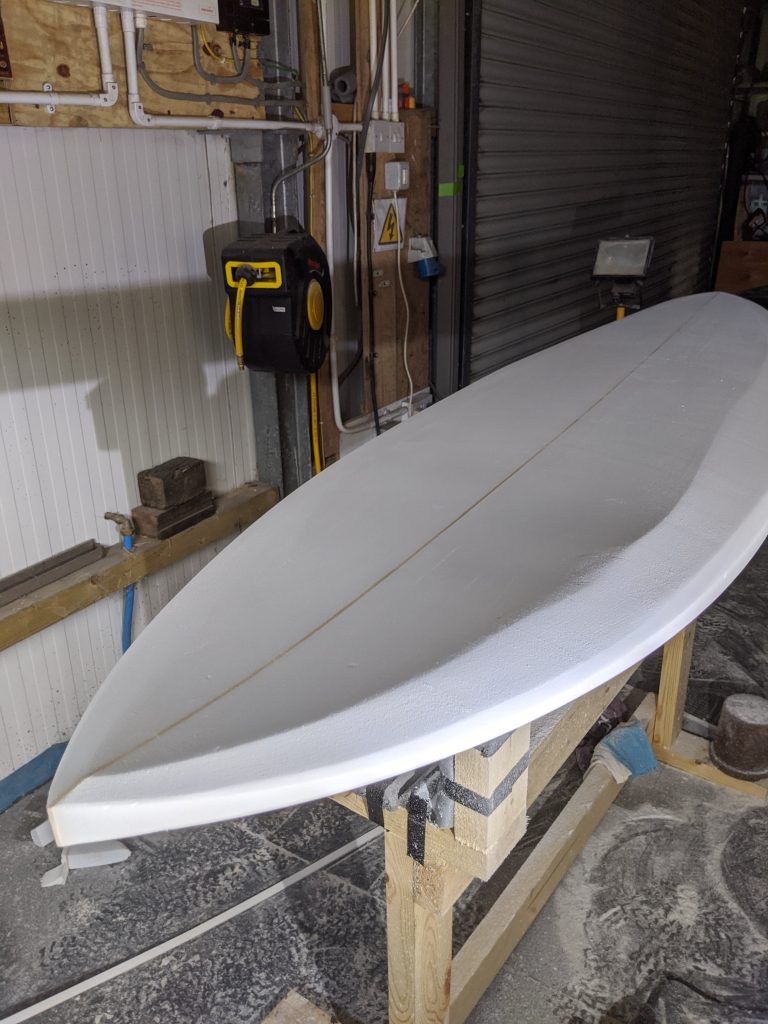
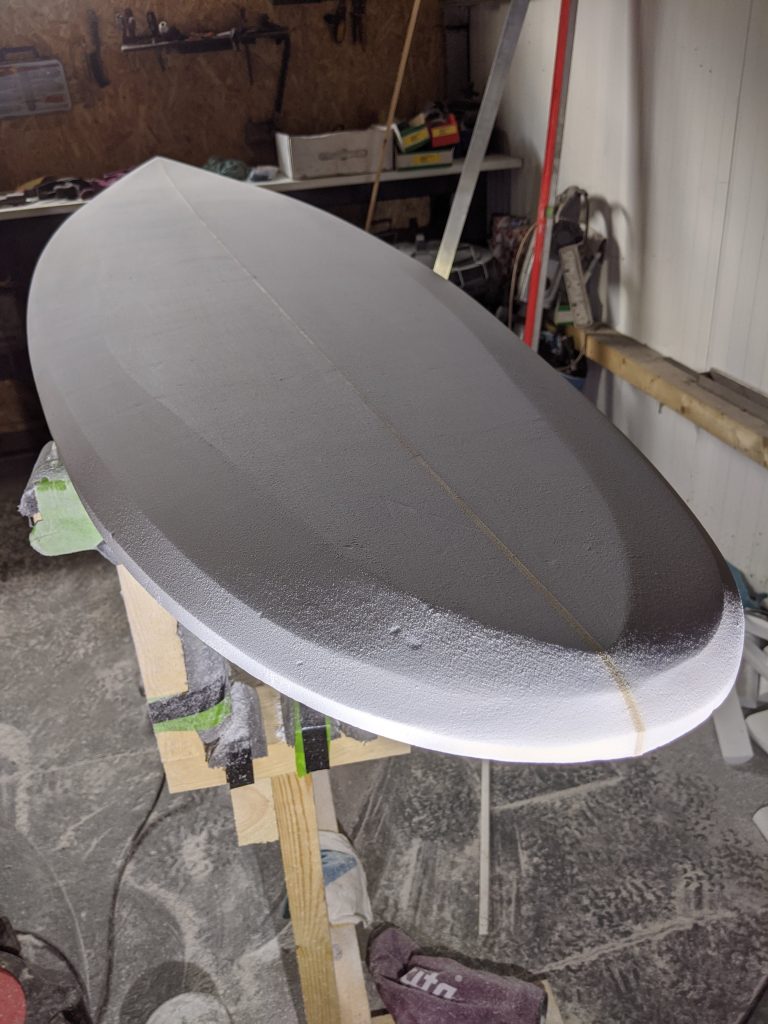
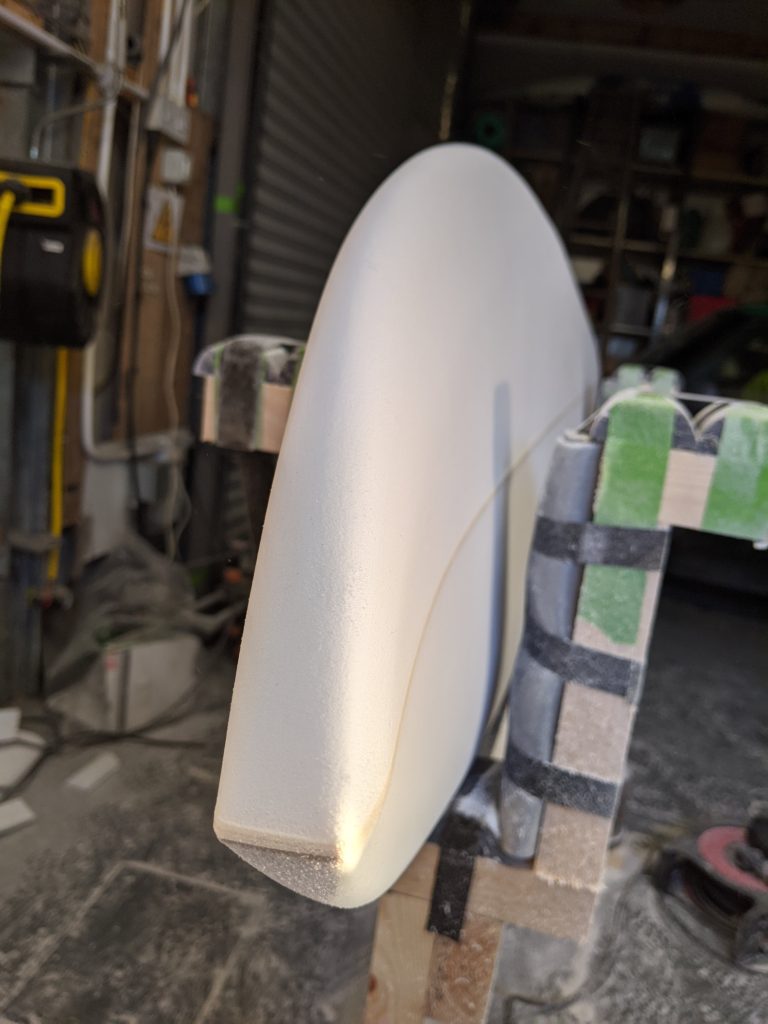
The final part of the shaping was forming the rails (edges of the board). The rails on a surfboard have quite a complicated sloping profile that changes along the length of the board. This makes the rails very difficult to shape by-eye. Therefore, first you measure out and cut a series of angled chamfers called rail bands and then these get hand sanded down to the final profile. The Green Light Supply Building Guide has a set of dimensions for marking out the rail bands for different rail types which I followed. Once the rails were shaped and the whole board was given a final going over, the shaping of the board was complete!

Step 5: Painting
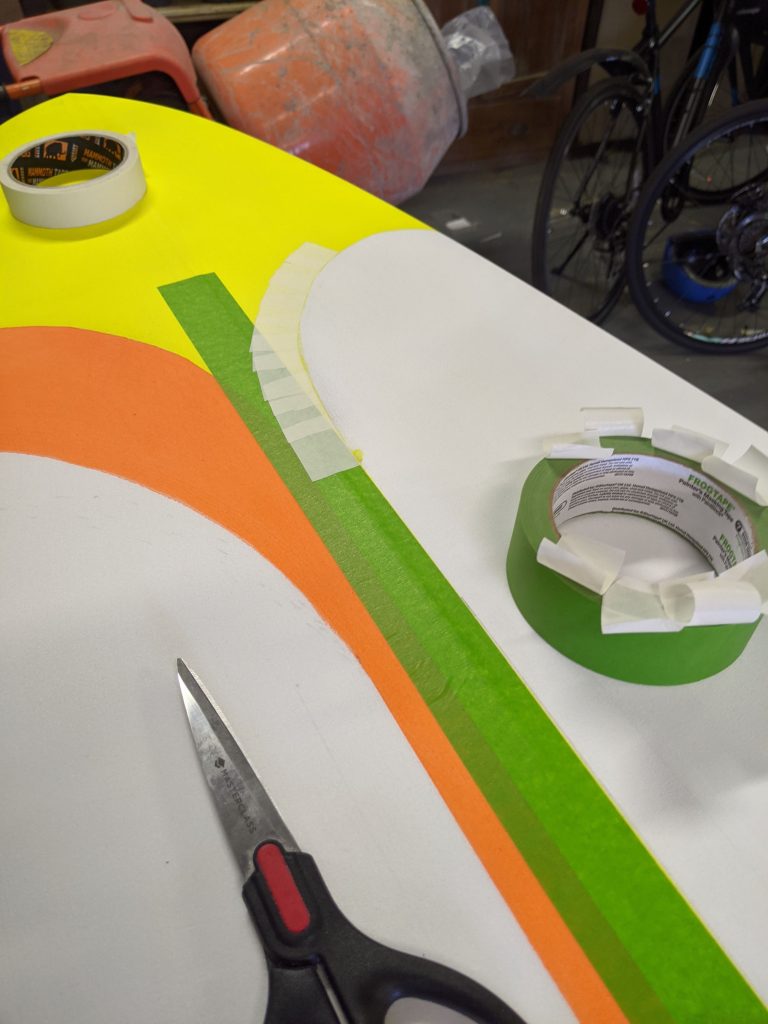
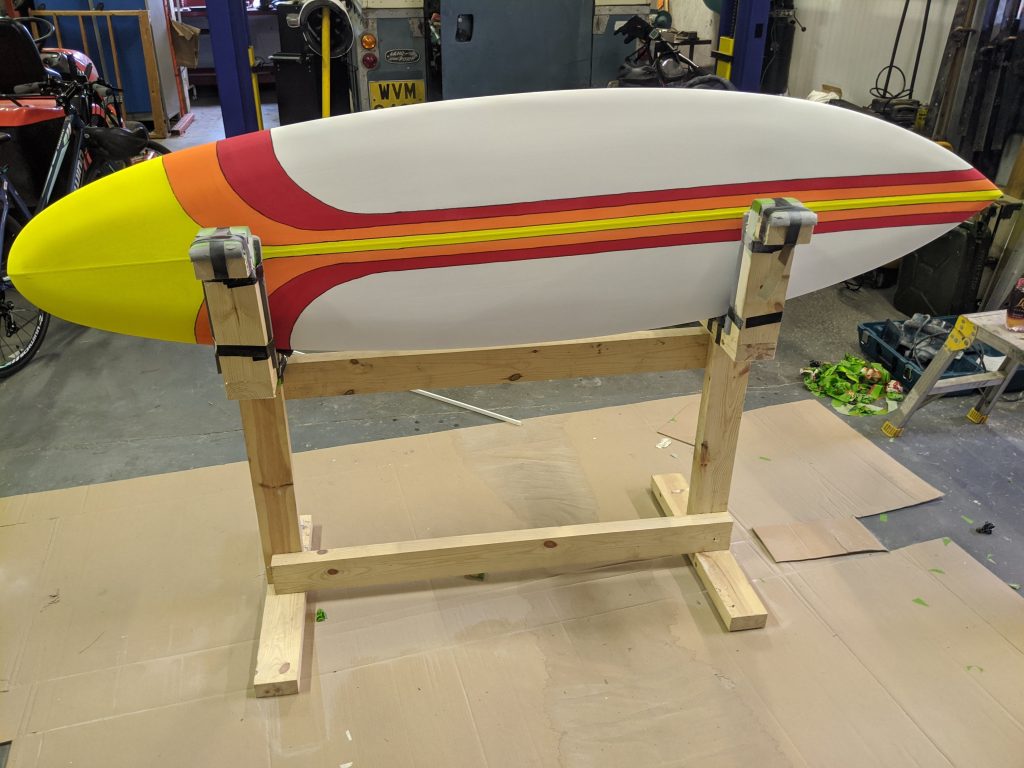
Now that the board was shaped, next was giving it the paint job. I used acrylic paint and along the borders between colour layers I applied masking tape to give clean edges. I wanted greater definition between layers and to hide some of the bleed between layers so I went over the borders with a black marker. I like the almost cartoon look the black edges gave the design.
Step 5: Glassing
The next stage was to fiberglass the board, giving it its strength and to seal it from the water. I decide to use 1 layer of 6oz cloth on the bottom and 2 layers of 6oz cloth on the deck. You generally use more cloth on the deck as it needs greater strength to withstand the forces from your body during use or else you end up with pressure dings. Used about 25oz of mixed epoxy resin on each side.
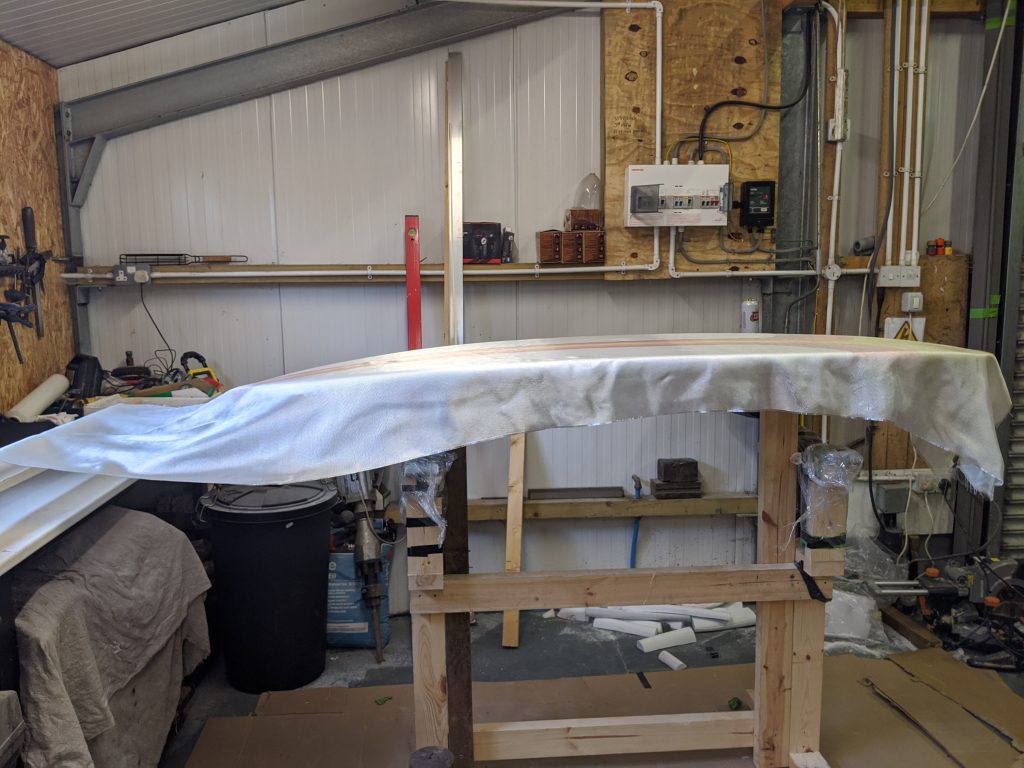
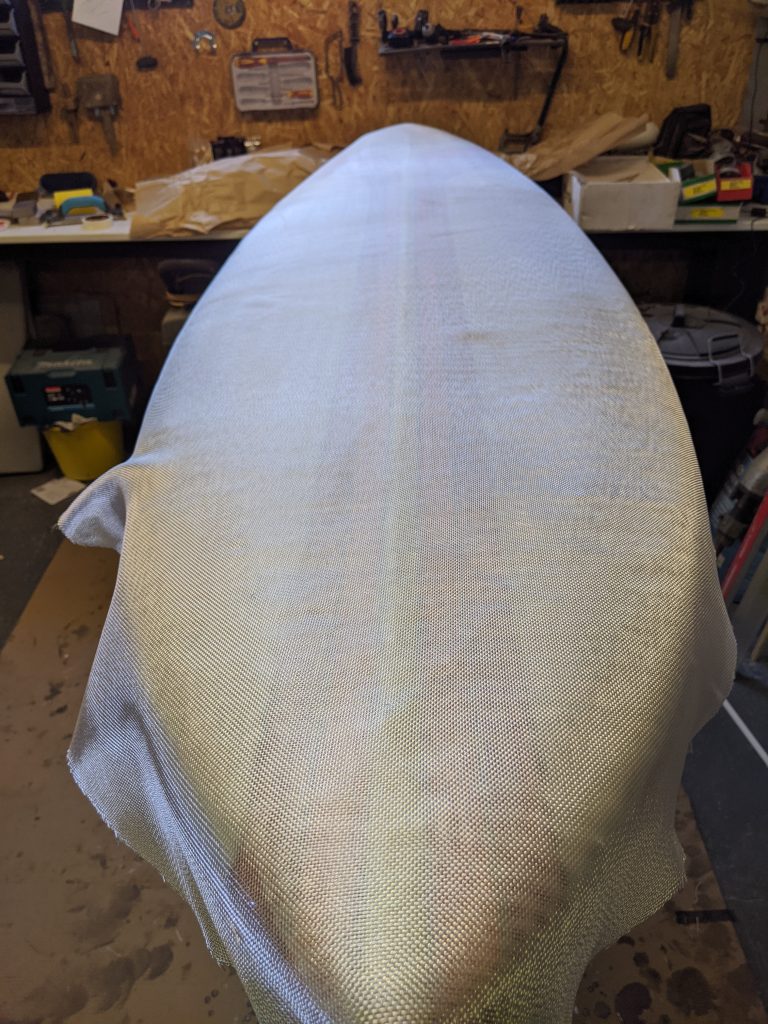
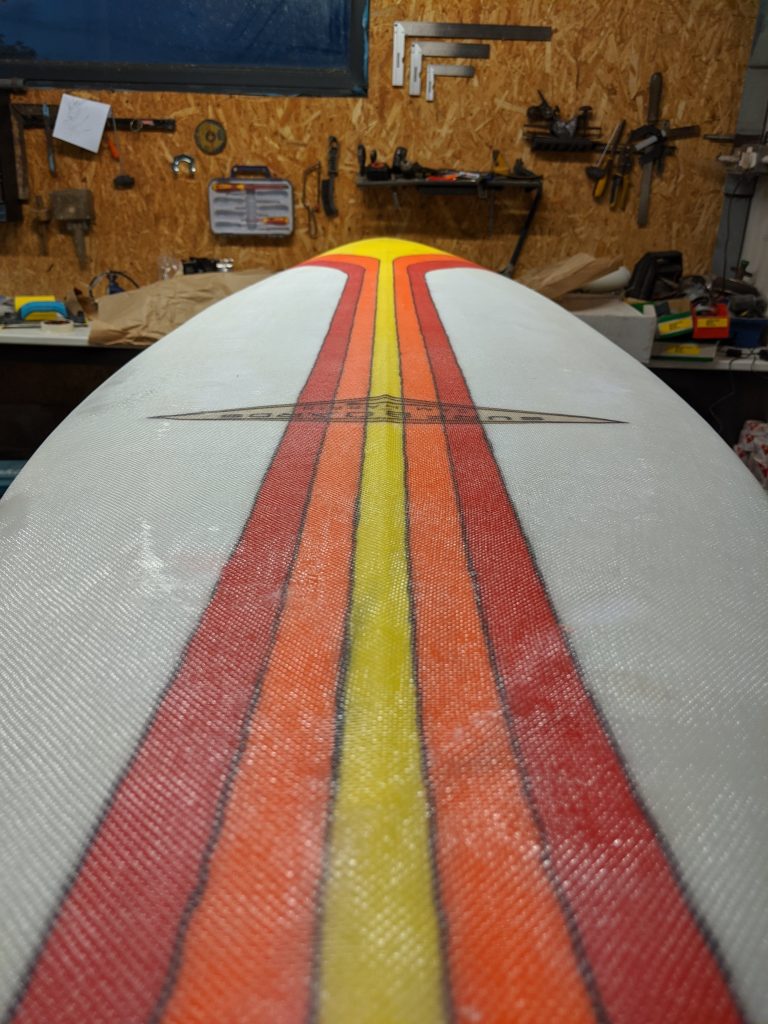
During the fiberglass stage, I also applied the logo decal to the board. I printed off the logo I had “borrowed” onto rice paper and placed it underneath the first fiberglass layers. The rice paper is commonly used for decals since it absorbs the epoxy resin and goes transparent where there is no ink.
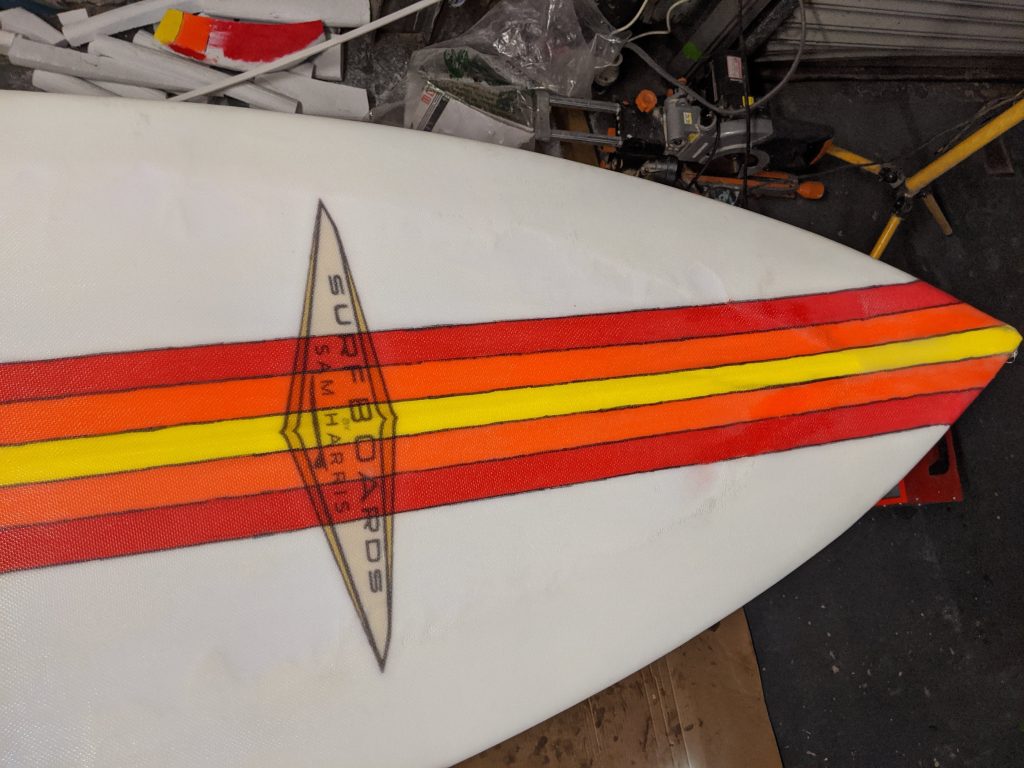
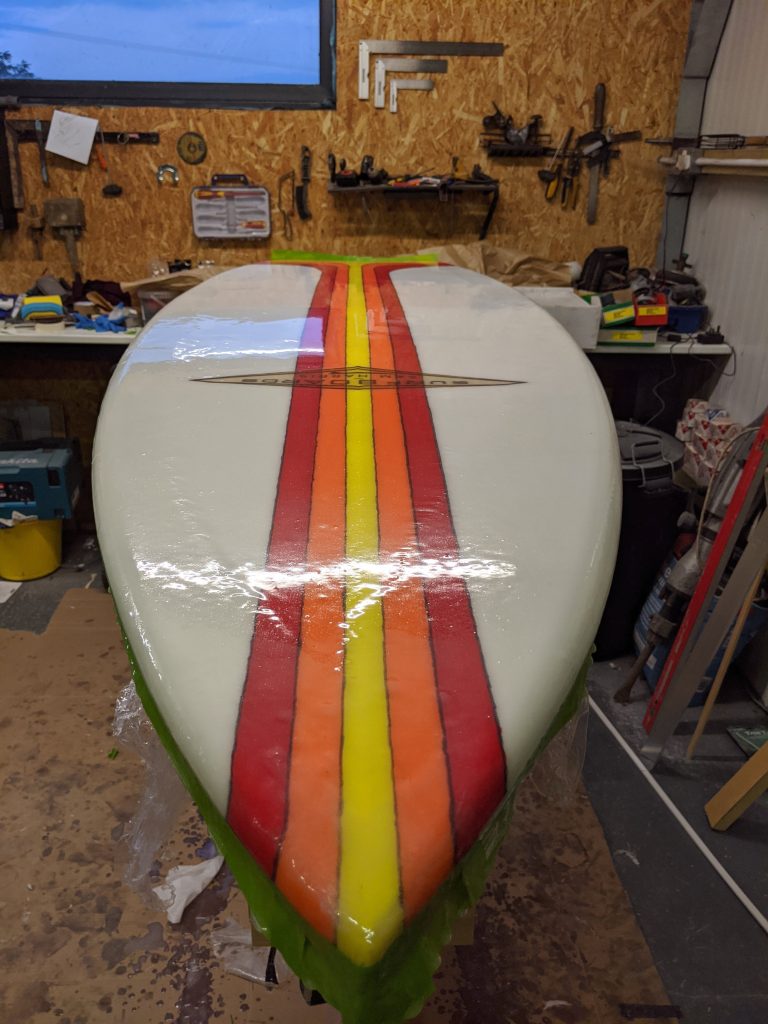
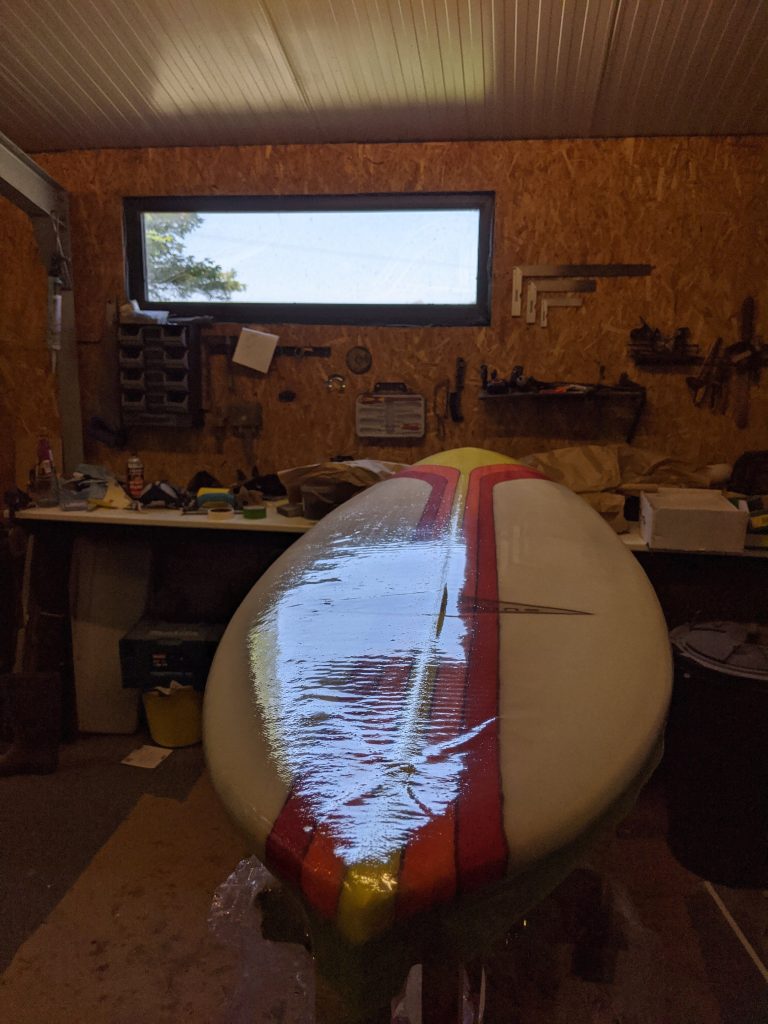
Once the fiberglass layers were applied, the final step was to apply one last coat of epoxy resin on the top and bottom. This is known as the seal coat. This seals any remaining gaps in the fiberglass layers and smooths out the surface on the board. In the photos you can see how the board now has that shiny look to it rather than matt.
Step 6: Installing fin and leash plugs
The penultimate stage of the build was installing the fin and leash plugs. I had decided to go for a thruster setup with an original FCS fin plug system. I went decided on the original FCS fin plug system since they were the simplest to install, they didn’t require any special tools or jigs unlike most of the other systems. However, I did need a set of dummy fins for the install process to all me to align the angle of the plugs relative to each other and to ensure that the spacing was correct. Rather than buying a set, I decided to print a set using my home 3D printer, a Prusa i3 MK2.
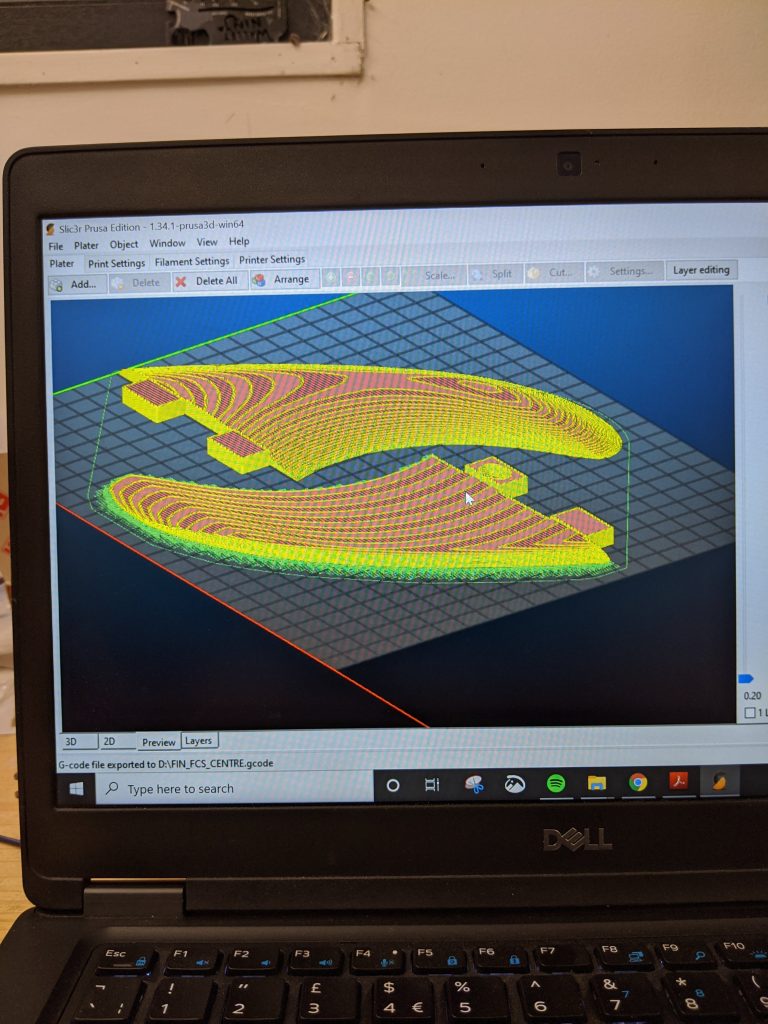
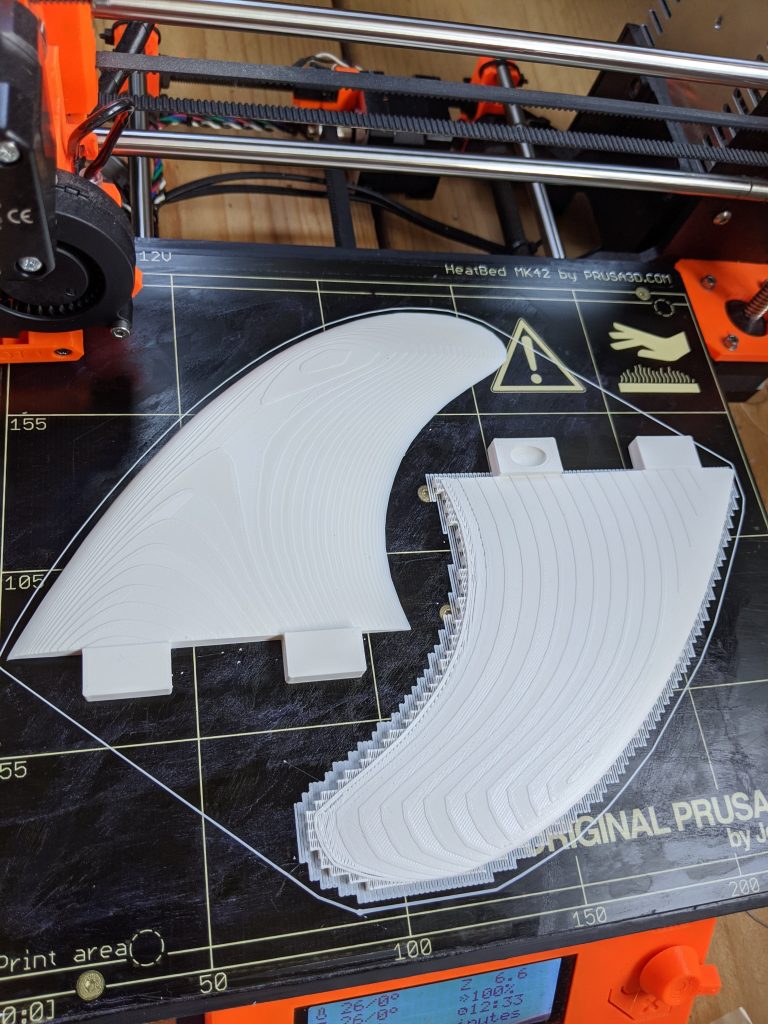
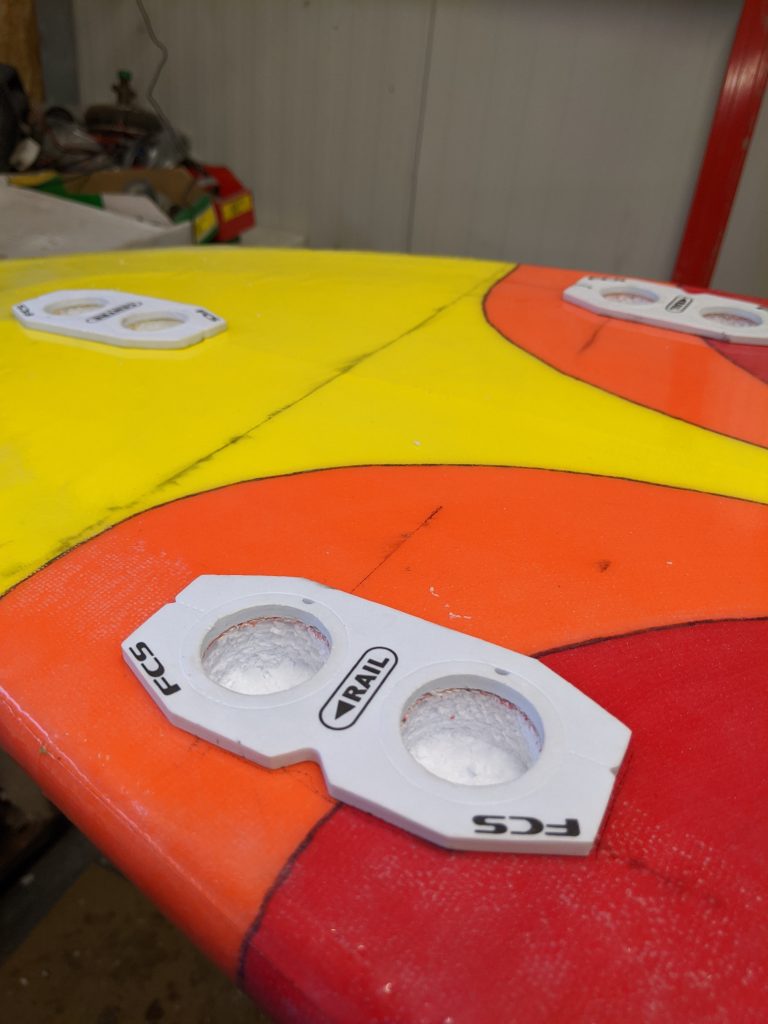
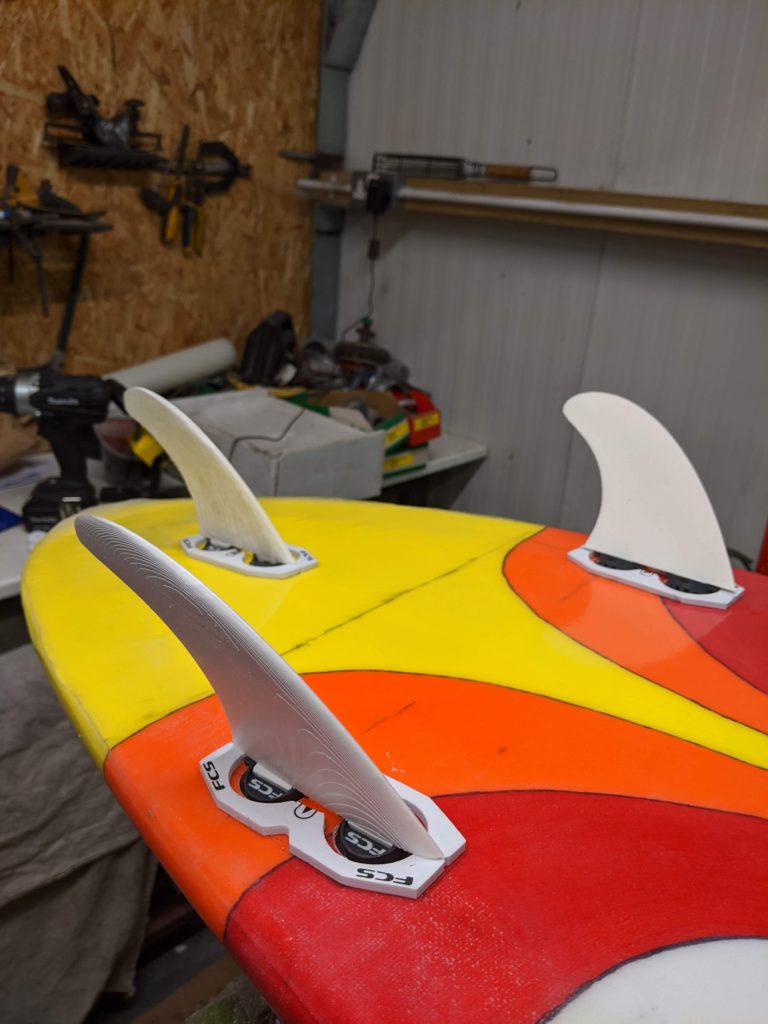
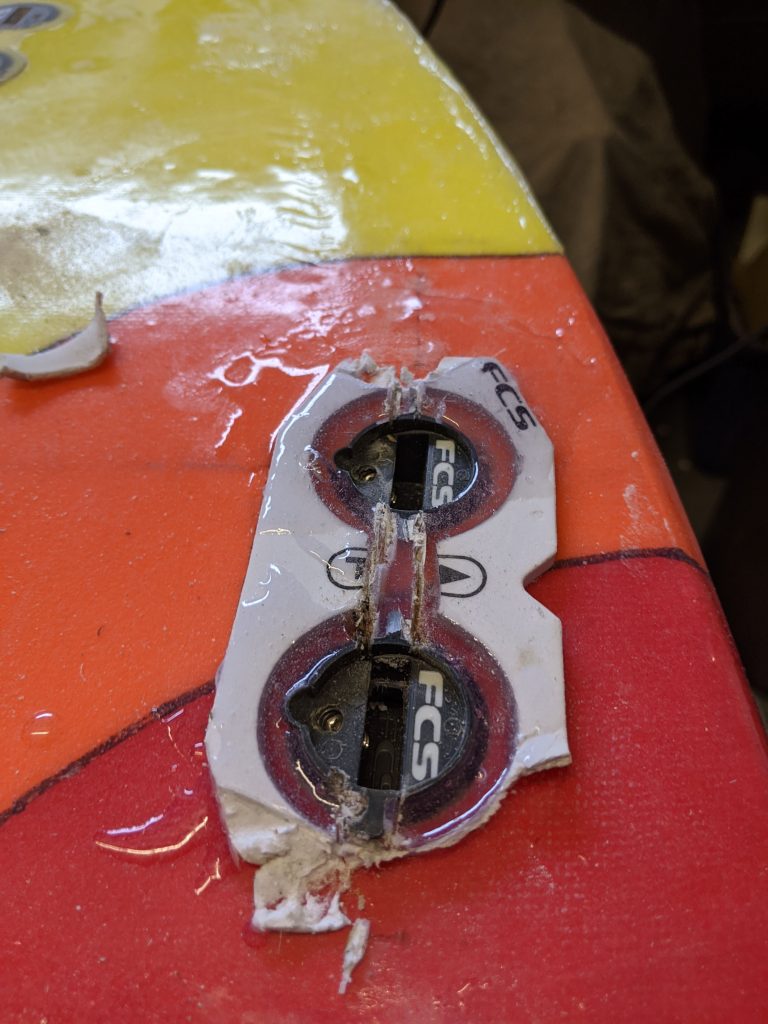
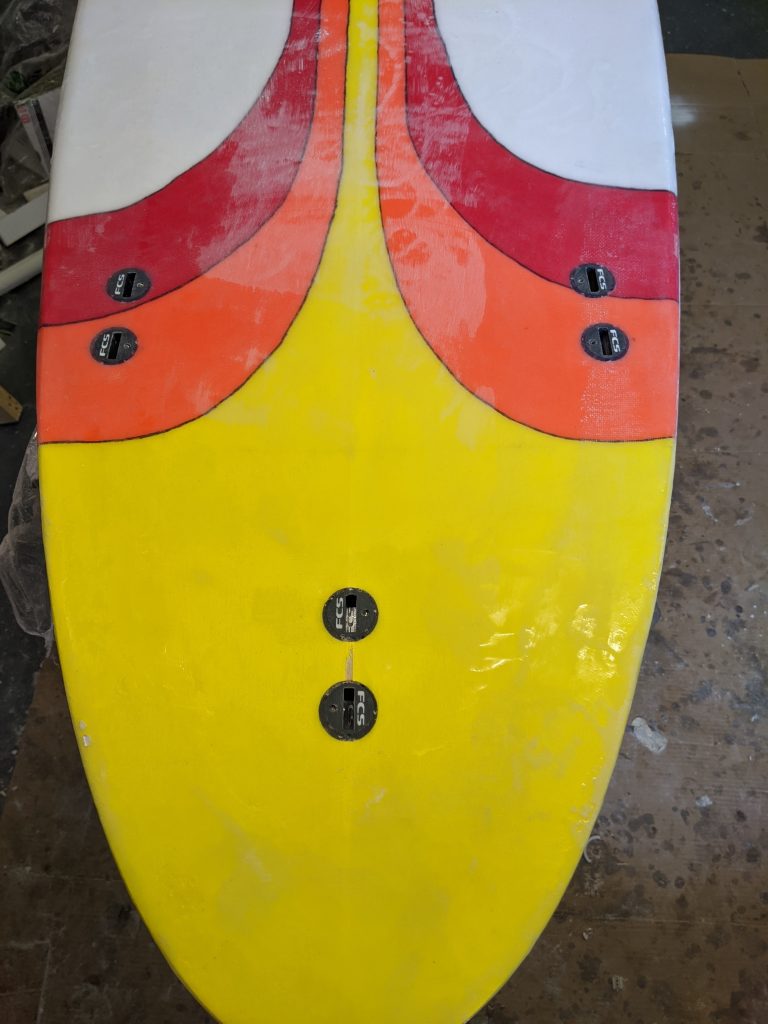
Once I had my dummy fins, I then could install the plugs. First I carefully marked out applied the guide stickers for the plug positions. I then drilled 6 holes for the 6 plugs using a cordless drill and a hole cutter bit. These holes weren’t straight through but rather H shaped, only the outer edge went all the way up to the bottom fiberglass layer. Had to be careful not to drill all the way through. Once I had the holes, I then set the plugs and dummy fins in using a small amount of epoxy resin. I repeated this for the fin plug on the other side.
Step 7: Sanding and polishing
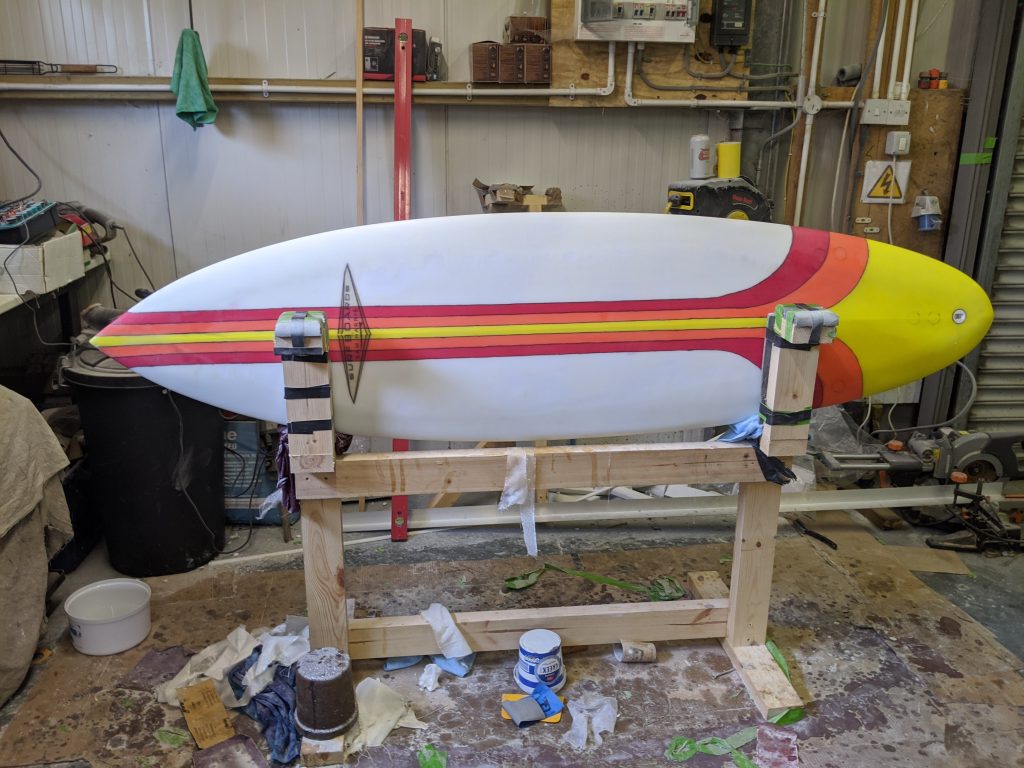
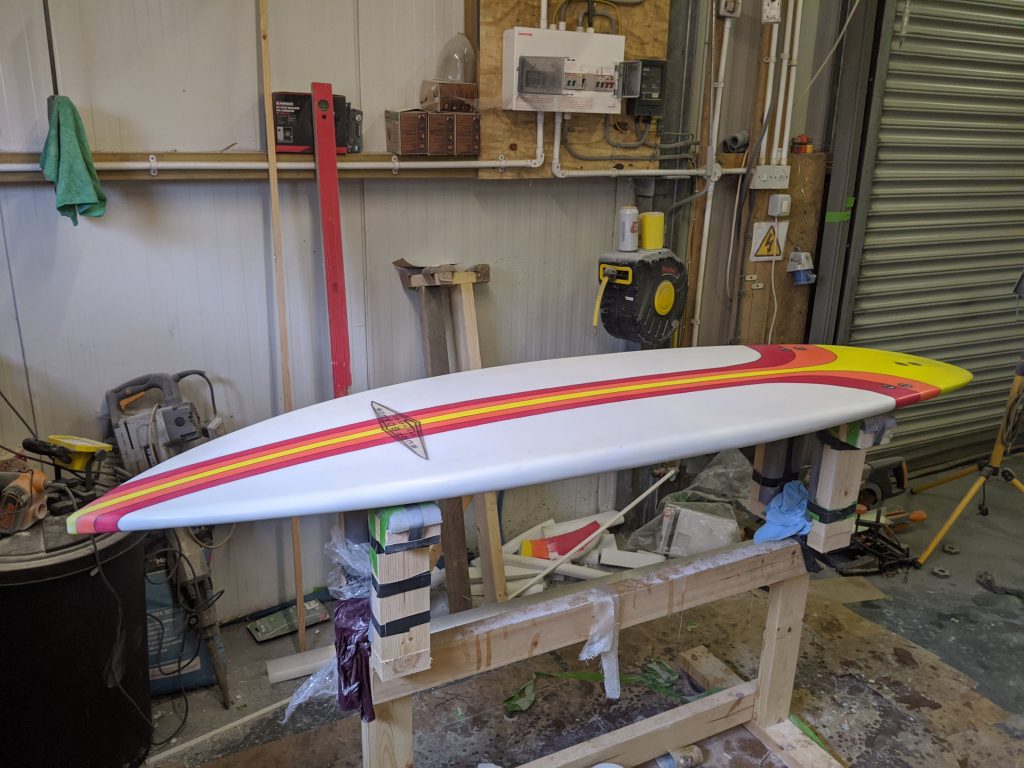
The final step of the build process was to sand and polish the board. Starting with the belt sander I sanded down any high part with too much epoxy trying to ensure an even thickness all over the board. I then polished the board using increasingly fine grades of the sandpaper, finishing with a cloth and polishing compound. Once I was happy with the polish, the build was complete.
Viola! My surfboard is born!
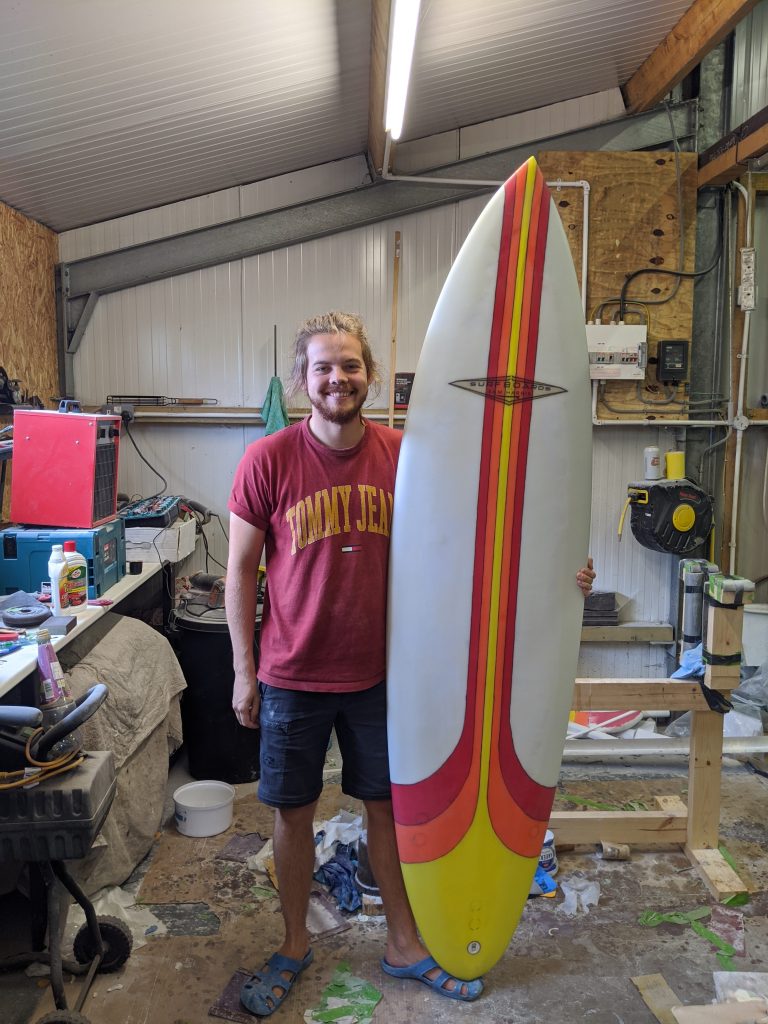
Final Step: Using the board!
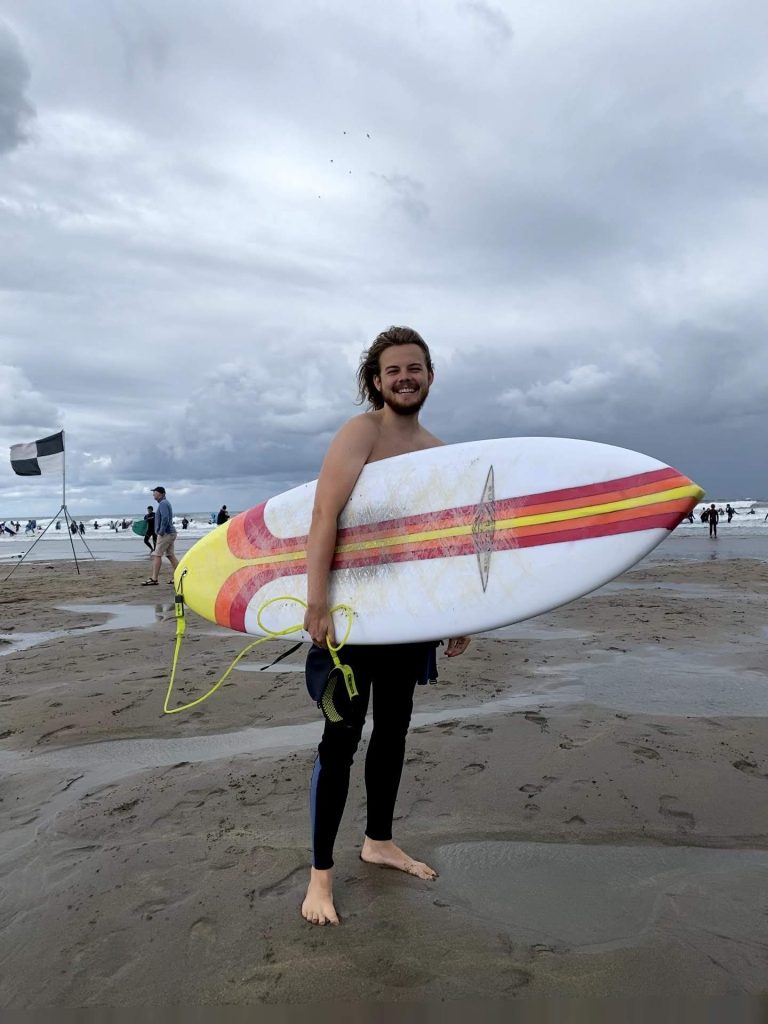
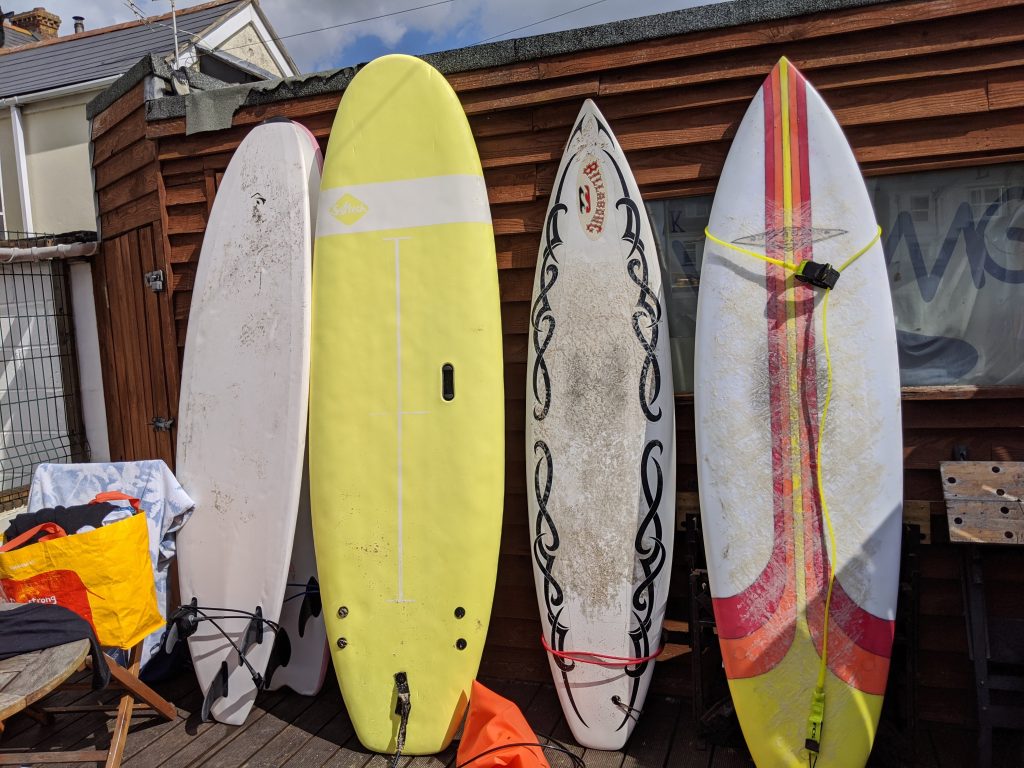
As of writing, I have been using the board for nearly 3 years. Its had no leaks or problems and is really fun to surf. Very happy with how it turned out. On its first surf trip it got christened “Snappy” because I was so worried it would snap in two the moment I tried to use it. Luckily it has not lived up to its name, yet…
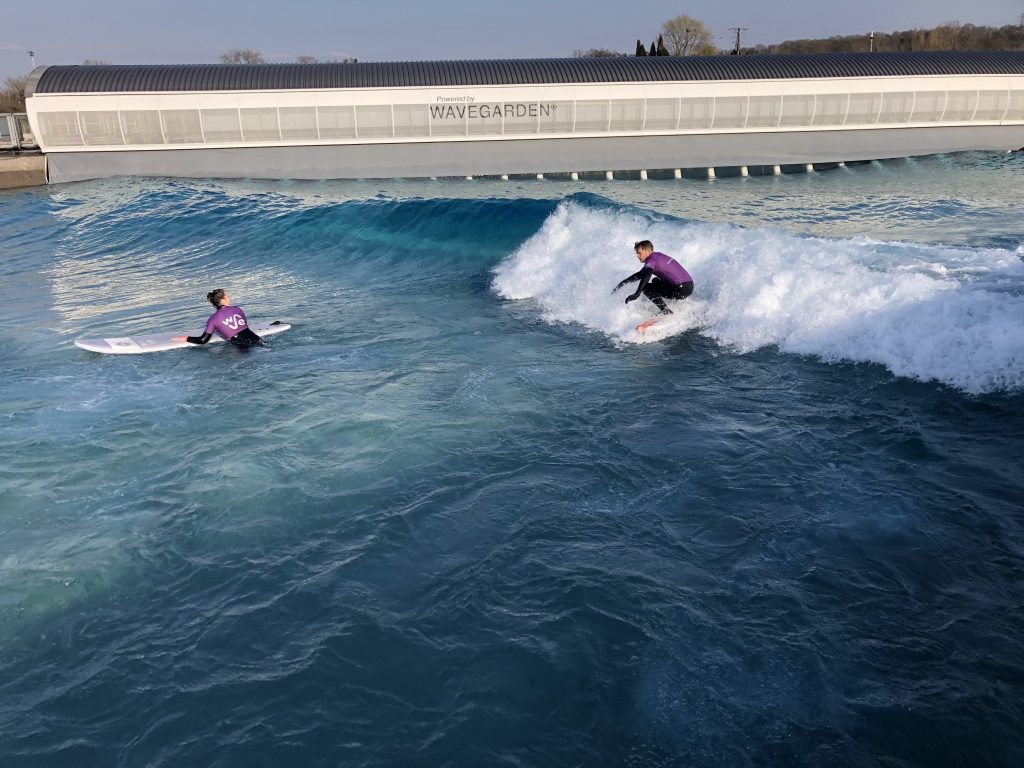
Here’s a few pics of Snappy out in the wild.

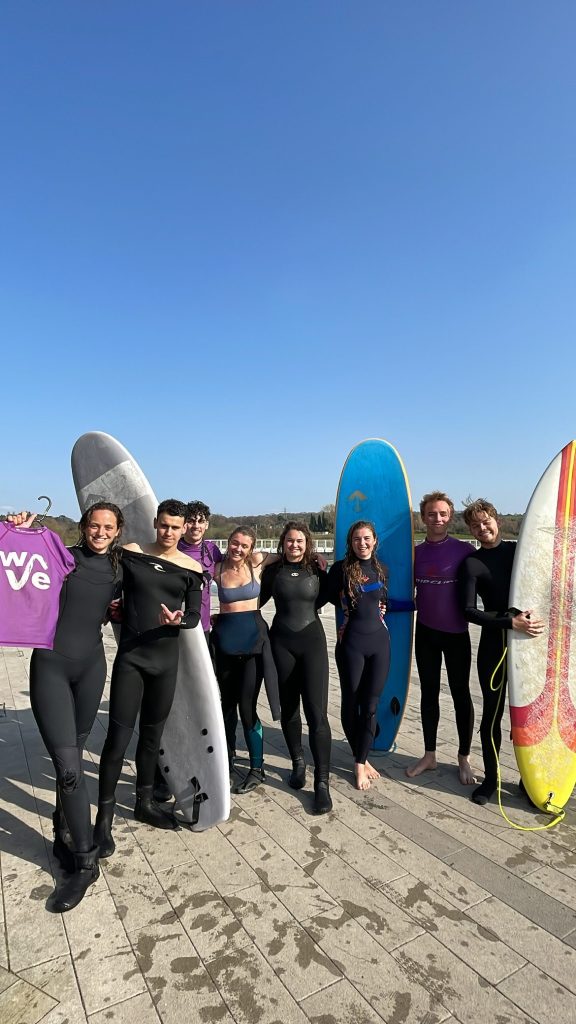
Big thanks to my Dad for letting me take over his workshop for a few weeks and to George Williams for giving me loads of great advice and answering any questions I had. Such a fun project! Maybe they’ll need to be a 2nd board soon.